10 Ways to Organize Your Gear Like a Pro
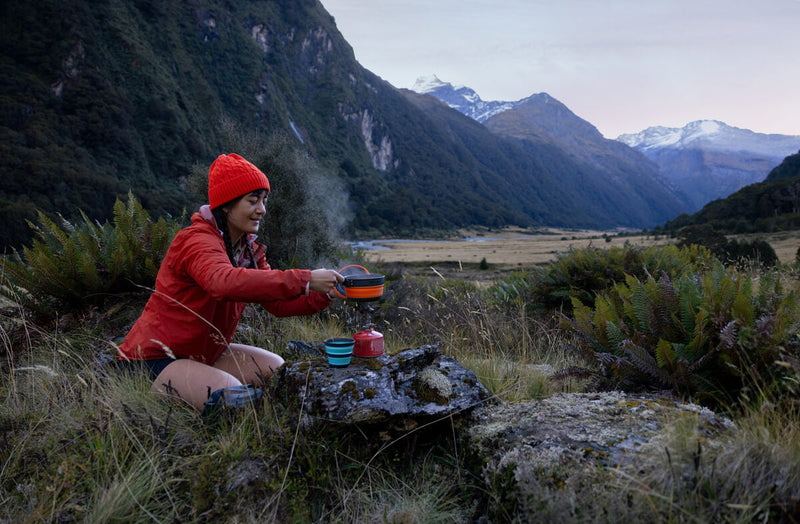
The only feeling that comes close to being outdoors on your favorite trail is organizing your gear within an inch of its life.
While you’ve got some time on your freshly-sanitized hands, it’s time to learn how to organize your gear at home. You’ll spend less time rummaging around when you’re ready to head outdoors again—and you’ll have a set-up that you’ll want to photograph and carry around in your wallet.
Here are ten tips for organizing your outdoor equipment and apparel like a pro.
1. De-Grime Your Gear
We’re all about becoming one with the stank when you’re out on the trail, but when you get home, you can’t stash your dirty gear and hope the filth will just go away. Before you even think about packing anything into storage, clean and repair your camping and hiking stuff.

2. Stop, Drop, categorize
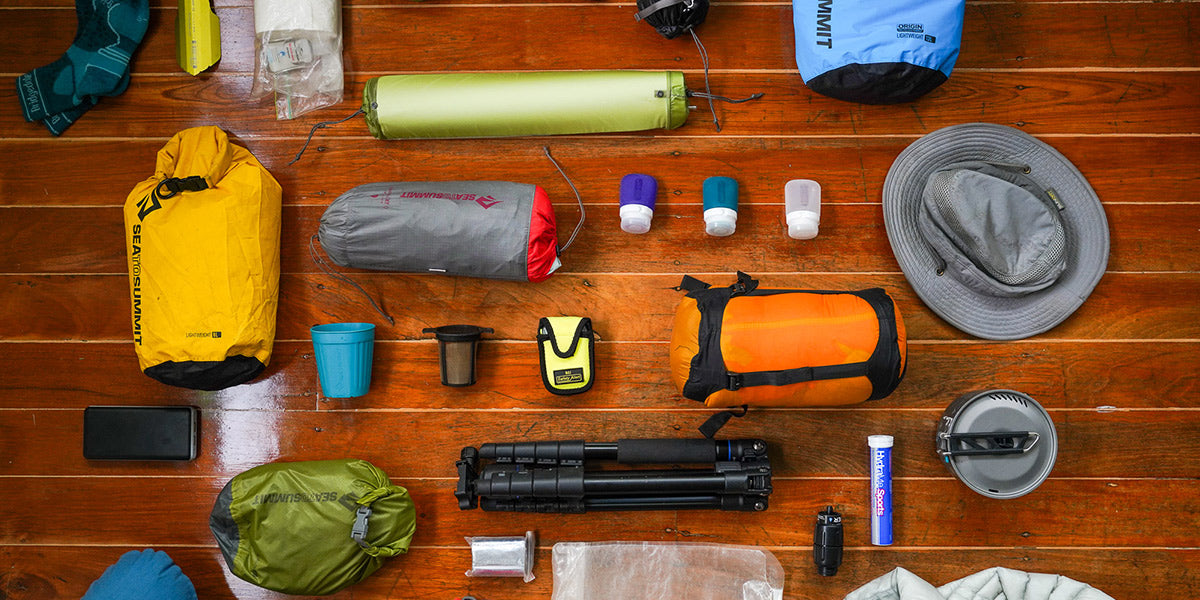
Now that everything is spiffo, lay all your gear out and sort it into two categories: Core gear and gear for specific outdoor activities. From there, divide everything into smaller piles like these:
Core gear piles: Sleep system and tent, camp kitchen, hydration, camp essentials (first aid kits, headlamps, toiletries, mosquito nets etc.), packs and bags, dry bags and stuff sacks. Activities piles: Bikepacking, climbing gear, ski gear, water sports, trail running, and car camping.
3. cull it
When you’ve been on the trail, has someone ever asked you if you have [insert obscure object here] and you’ve said yes? That smug feeling is addictive… but a light pack feels even better. Avoid your next shake-down on the trail and sift through your gear. Do you have any double-ups? Do you really need three stoves or four of the same jacket? Throw sentimentality out the window. If you don’t need something, sell it or give it to someone who could use it.

4. find the right space to store your gear
Most of us either don’t have enough storage space—or we just don’t know how to use it well. If you don’t have the luxury of a garage, get creative with smaller spaces. Scope out some underused sections of your wardrobe or laundry cupboards. Never underestimate the storage potential of your backpack or the space under your bed. You might even find yourself selling off old university books to make more storage for the important things (gear, gear, gear) on your bookshelf.
5. clean your storage space
You’ve just spent all that time washing your down or synthetic sleeping bag, reconditioning your hiking boots and making space. Don’t put all that squeaky-clean gear away somewhere dirty and dank. Wipe out any tubs you’re going to use, and give the newly vacated shelves, storage containers and cupboards a once-over while you’re at it. That way, you can also make sure there are no damp spots—or moths who have a penchant for nibbling on expensive merino. Once you’ve done a big clean, it will be easy to maintain it with a quick dust and bug-check every couple of months or so.
6. get the right containers for your space
STORAGE BINS AND FLAT TUBS WITH LIDS
Get a few square storage bins for your tent and tarp, sleeping system, camp kitchen, and any clothing you can’t fold like merino base layers. Bins for storing tents or sleeping pads should not be airtight, otherwise the fabric coatings are constantly exposed to the same (high) level of humidity – ventilated boxes are the way to go. For apparel make sure the bins have lids to keep moths, water and dust out. Choose tubs that will fit in your storage space—and your car! If you’re planning on storing some stuff under your bed, make sure you don’t end up with tubs that are too high. Whatever size and style you choose, clear tubs make it much easier to determine what you’ve stored in them.
STORING MERINO WOOL
If you’re storing anything merino for an extended period of time, consider sealing it in a Ziploc bag to keep the moths and silverfish away. Red cedar wood is a natural moth repellent too, and can be stored placed in your wardrobe or drawers without stinking everything out.
LAUNDRY BASKET
If you have hiking poles, oars, skis, tripods or any other long items for outdoors activities, tuck them away in a corner in a tall laundry basket.
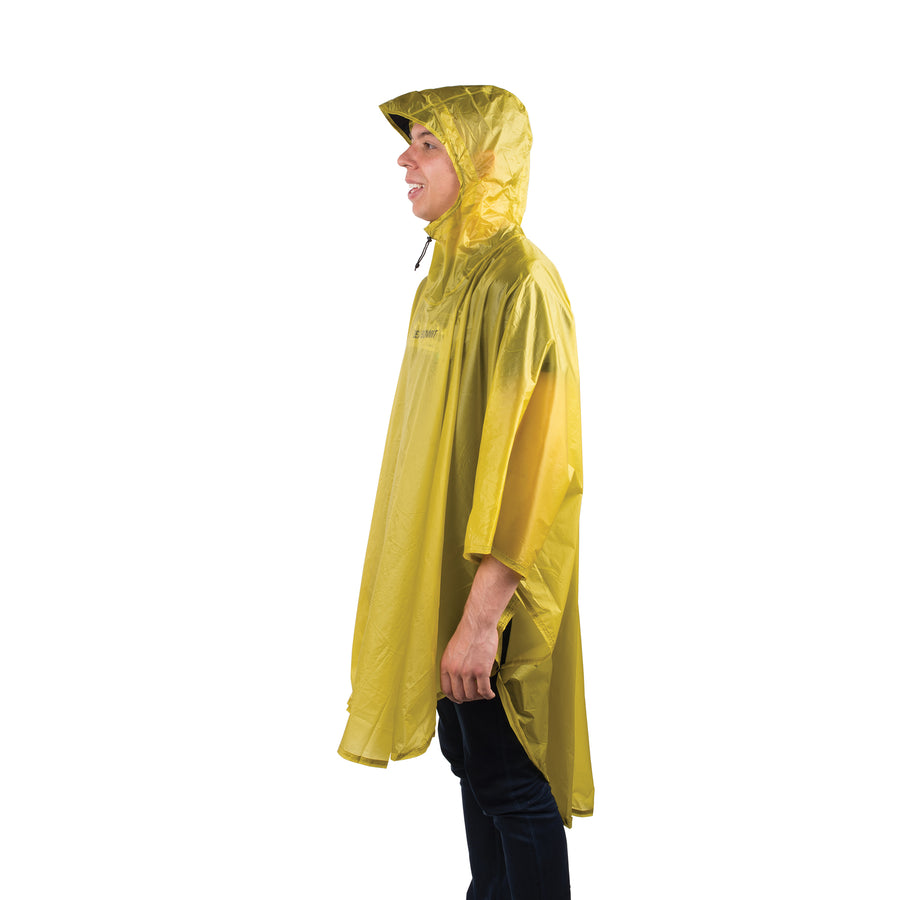
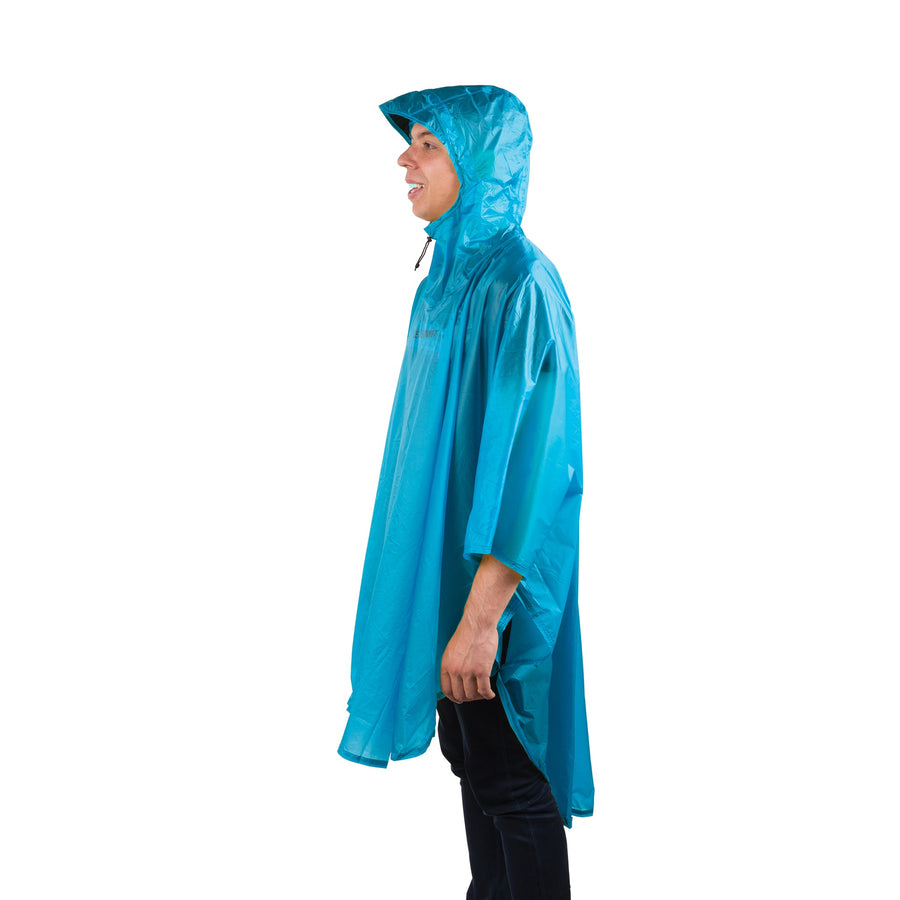
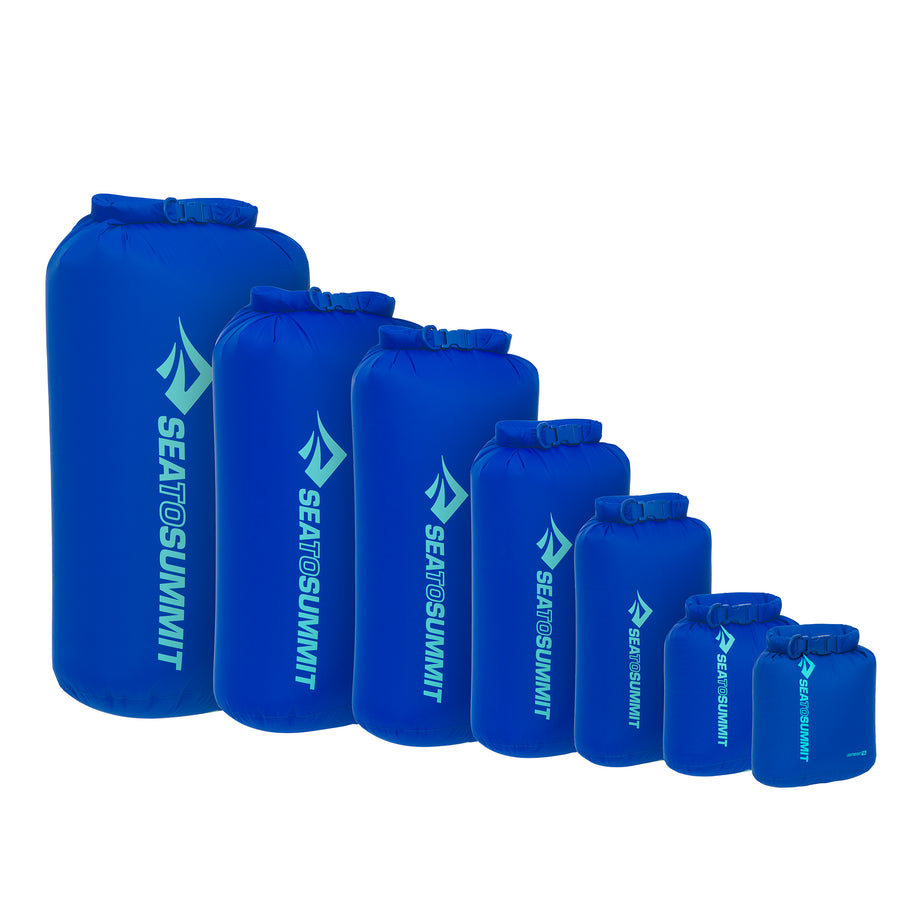
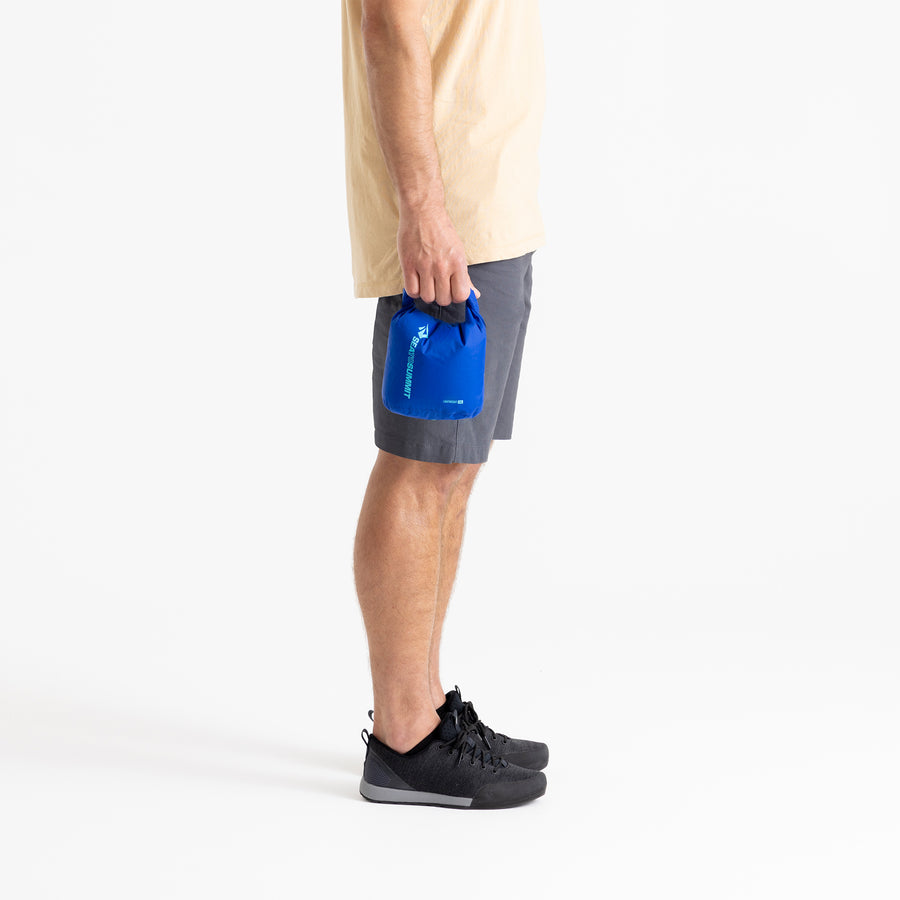
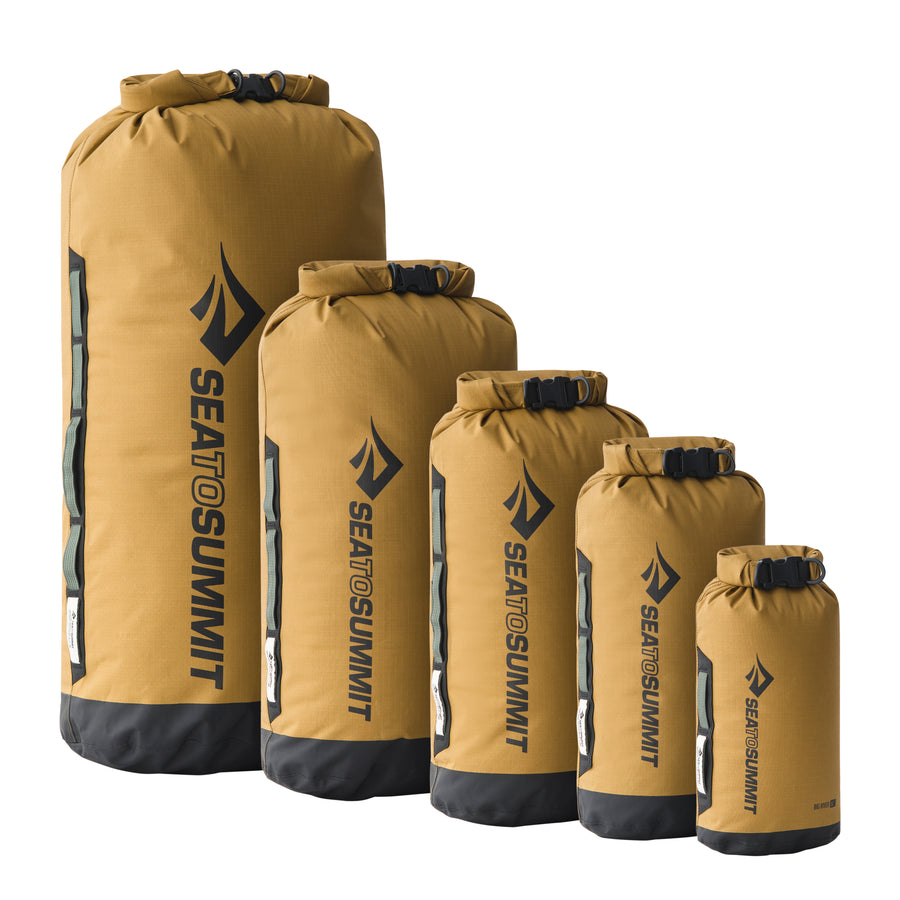
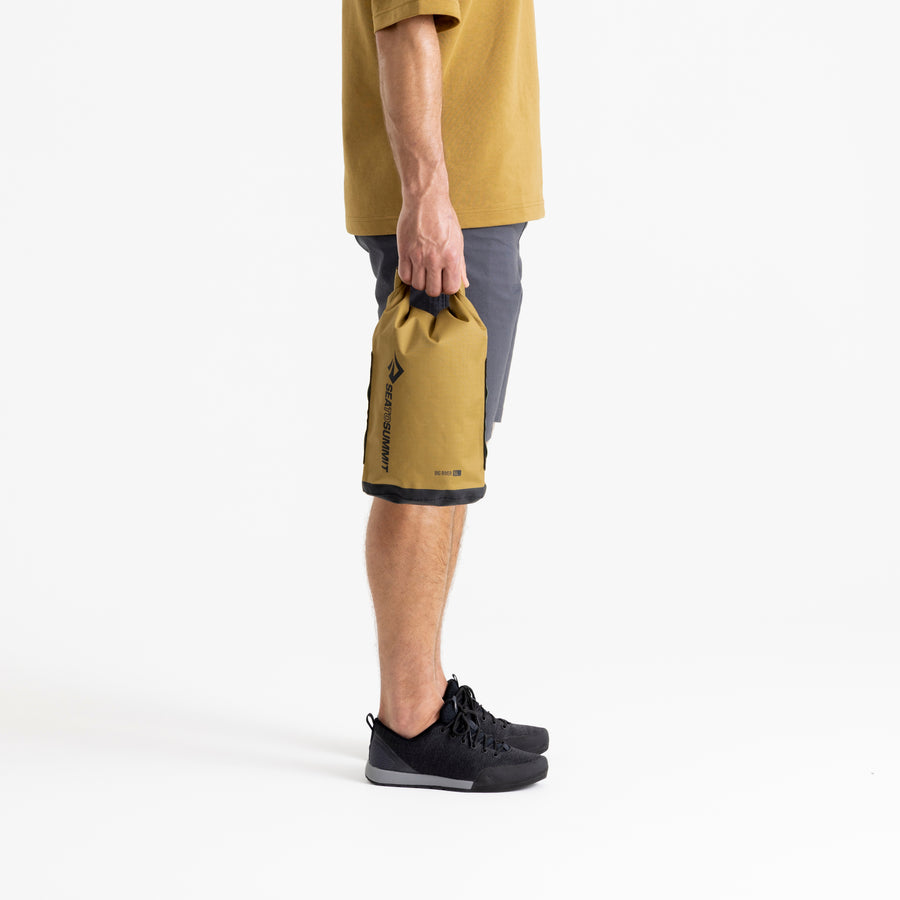
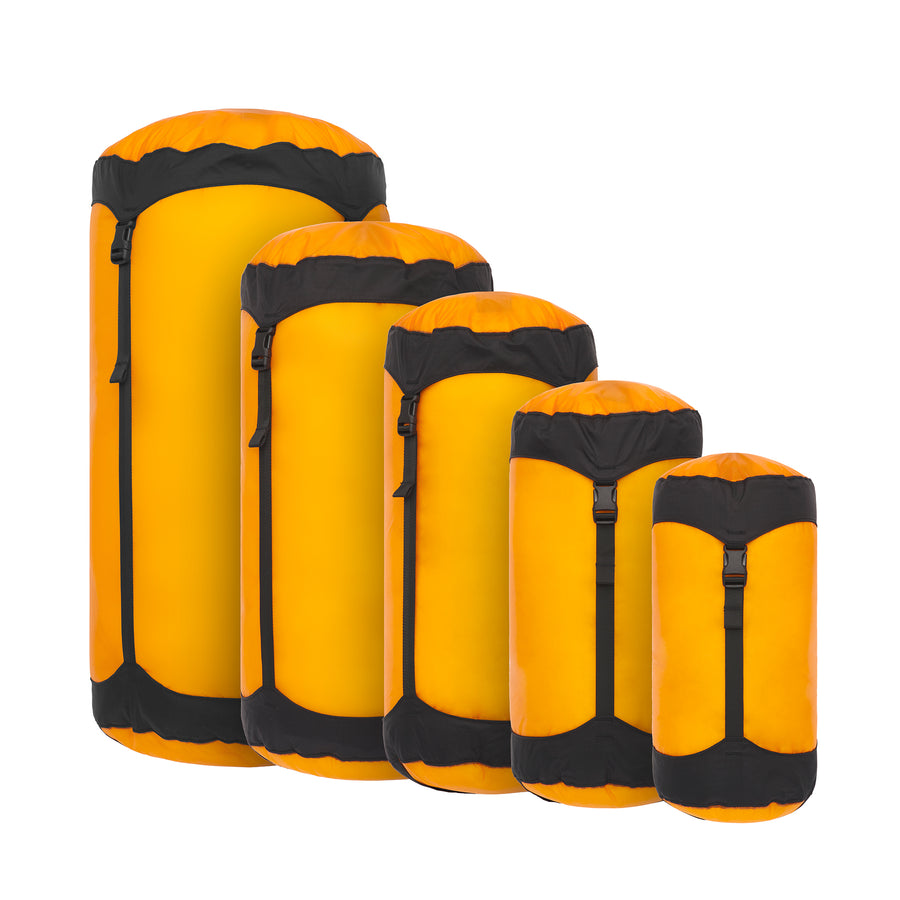
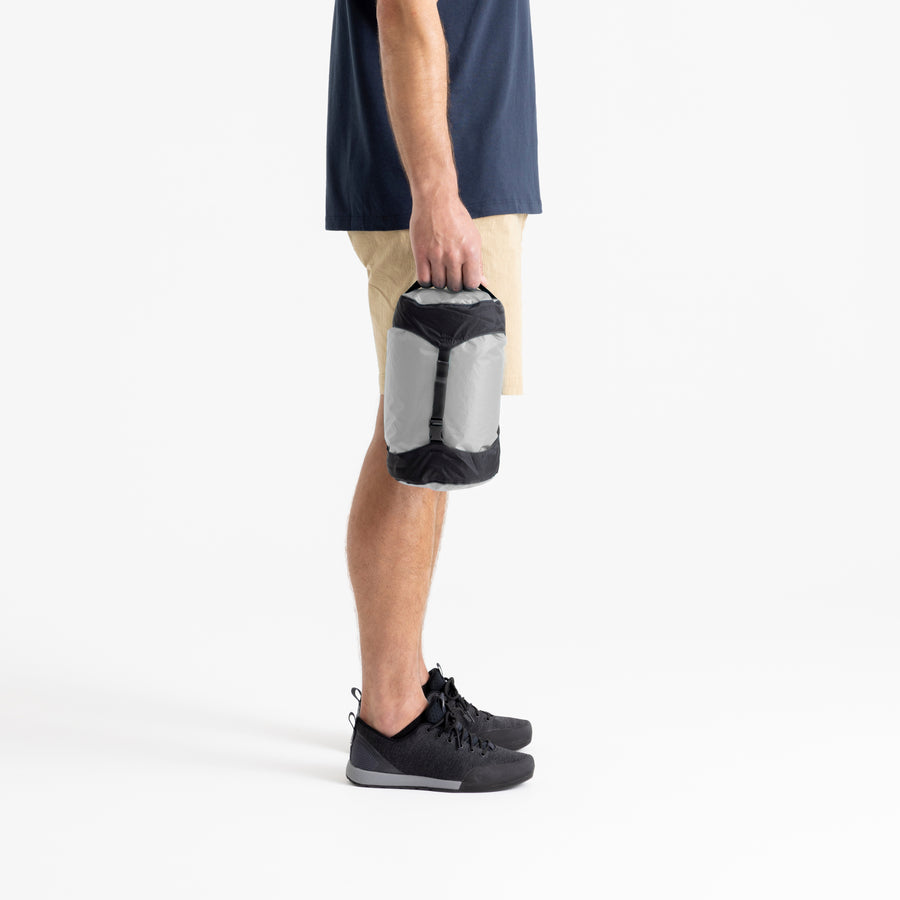
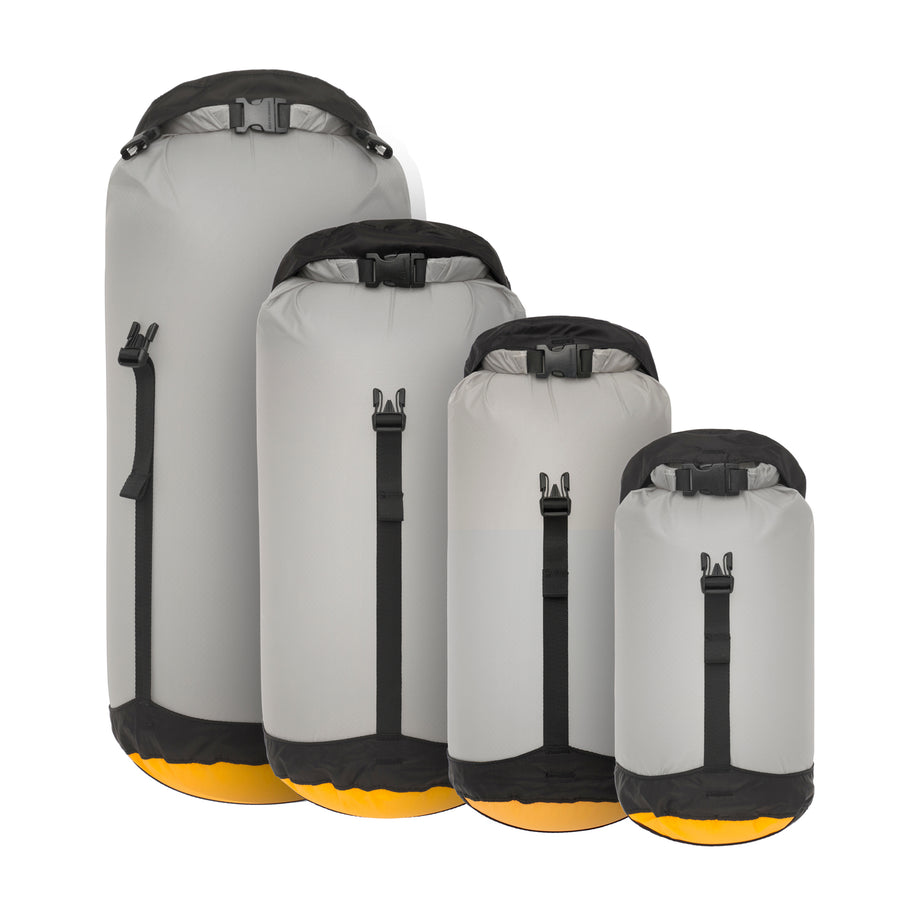
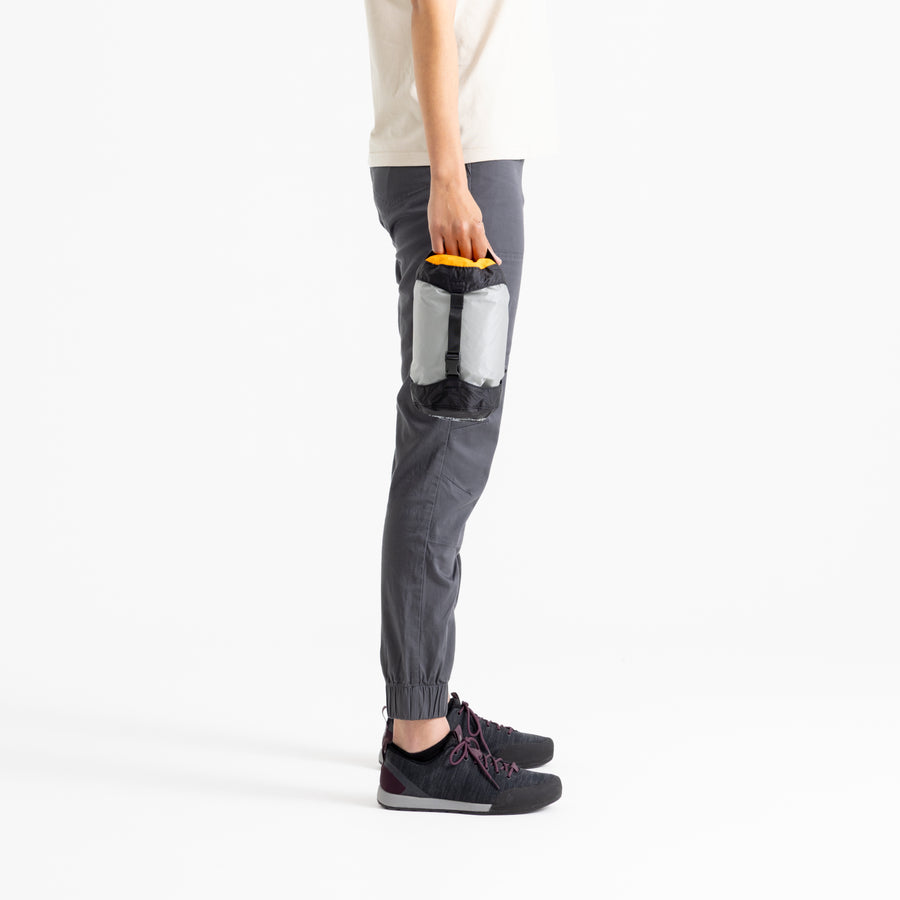
COLOR-CODED STUFF SACKS AND DRY BAGS
If you have very limited space or you want to make more room in your tubs, pick up some dry bags or dry sacks to contain your bulky gear and essential bits and pieces, like toiletries and first aid supplies. Same rules apply as with bins: if you’re storing tents or sleeping pads, leave the dry bag open so ventilating air can get in and out. Choose one color for each category so you can easily find everything weeks or months later. Start your color coded system at home and it will be easy to replicate this organization when you’re out adventuring.
ELECTRONICS
Make sure you take the batteries out of any electronics before you put them into storage. A corroded headlamp casing is the last thing you want to deal with when you’re trying to get out the door for a spur of the moment adventure. Keeping spare batteries on-hand is always useful, too.
7. PUT A LABEL ON IT
It’s no use having a bunch of storage bins if you don’t know what’s in them. Go wild with sticky labels. Label your gear according to your core categories and any other activities like we mentioned at the start. If you’re using stuff sacks or dry bags, you can either label or color code them. For example, you could choose blue labels for your sleep system and red for your ski gear. When you’re done, stick a laminated, adventure-specific checklist to your tubs. You’ll never find yourself halfway up a creek without a paddle again!
8. THINK VERTICAL
MAKE USE OF YOUR HANGING SPACE
Hanging your clothes will save a ton of space and keep everything organized. Hang your base layers on the left and work your way right towards your puffy jackets. You can also hang up your backpack to keep more floor space for tubs.
YOU CAN'T HANG EVERYTHING
Keep merino wool in a tub or a stuff sack so it doesn’t lose its shape.
SEE THAT STITCHING LOOP OR TAG ON THE NECKLINE OF YOUR DOWN JACKET?
Loop that through the top of the hanger to take some of the pressure off the shoulders. It’s also worth investing in a couple of thicker hangers for things like your down jacket or heavier outer layers.
STACK IT BY SEASON
Stack your storage bins with the gear you use the most close at hand. You’ll probably find the order changes with the seasons. If it’s summer, you’ll want to put your lighter summer clothing and water sports nearby. In winter, your snow jacket should be within arms reach for last-minute backcountry skiing trips.
FROM THE BOTTOM TO THE TOP SHELF
If you have shelves, use them. If you have some space in your garage, think about getting some warehouse-style shelves that can hold a bit of weight. It’s still worth keeping things like your sleeping bag at a more constant temperature if you can, so inside the house somewhere, rather than the garage, is better if you can spare the room.
Keep your heavier gear-filled tubs on the floor or the very bottom shelf. That way, you can bend your knees when you lift it. Don’t put your back out before you’ve even hit the trail.
On the middle shelves, store the lighter gear you’ll use this season. Keep high shelves for gear that’s light but out-of-season or rarely used. You don’t want to go hunting for the step ladder every time you want to get something out.
9. LET YOUR BOOTS BREATHE
Give your hiking boots some air. Once you’ve cleaned them up, sprinkle some bicarb soda in your boots to absorb any funky smells or dampness—and tip out the soda a day or two later. Keep them on the floor next to your tubs.
10. PROTECT AGAINST MOISTURE
Moisture is bad news for your camping gear. It will damage flashlights and other electronic gear and it’ll bring mold and mildew to fabrics. It will cause the PU coating on your tent to break down and become sticky.Triple check everything is 100% dry before you store it. Feeling extra? Add some desiccant to your tubs—like those little silica packets that come with almost everything. Save them up and throw them in.
Once you’ve taken all these steps, you’ll be so organized your hiking buddies will wonder if you’re a secret doomsday prepper. But, more importantly, you’ll be able to round up your gear in minutes and head out the door.


![Ground Control Guy Cords - [4 Pack]](http://seatosummit.com/cdn/shop/products/GroundControlGuyCords-03-USP-IntegratedCordLengthAdjuster-GreyTent.jpg?v=1613434809&width=900)
![Ground Control Guy Cords - [4 Pack]](http://seatosummit.com/cdn/shop/products/GroundControlGuyCords-02-USP-QuickConnectKnotFreeVToggleAttachment-GreyTent.jpg?v=1613434816&width=900)