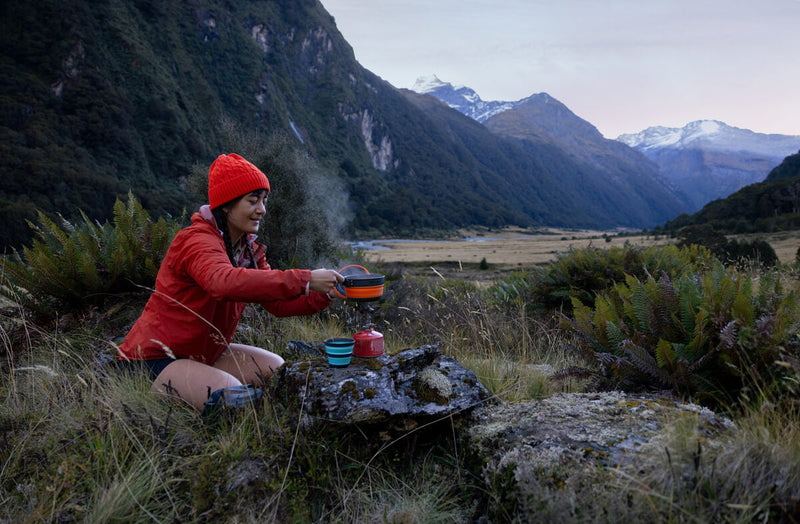
What to Pack for Winter Backpacking – Part 1
Winter backpacking requires more gear and more skills than backpacking in warmer seasons, so this will be a two-part post. We’ve revised parts 1 and 2 to include some new innovative products which have come to market recently.
Given the risk level of this kind of endeavor, the gear list assumes two people will be traveling together on skis or snowshoes primarily below treeline. You can mitigate risk by leaving word of your route with friends before you embark – and you should be flexible enough to change that route if weather or avalanche conditions dictate. The key to staying safe is to make sure everyone in the group knows the route, the group remains together, and ‘peer pressure’ is avoided in making decisions. Winter conditions and geographical terrain vary from region to region, as do people’s tolerance for bad weather. Whatever the specifics, genuinely winter appropriate gear and skills are essential for camping under these conditions. Here are some general points to consider:
What to take with you:
1. A pack of 80+ Liters
(5000cu ins) will be necessary to adequately accommodate the gear necessary for most winter excursions. Make sure that the harness allows enough freedom of movement to permit you to ski/snowshoe. Your load should be as close as possible to your center of mass if you will be skiing with the pack. Your snow shovel and avi probe should be easily accessible; the shovel should be mounted with the blade facing down.
2. a 4-season tent
A genuine 4-season tent will be able to withstand high winds and snow loads. It will have a fly which comes right down to the ground, and a vestibule large enough to store a bunch of winter gear (large enough to prepare food and potentially to allow several people to read or play cards if you’re pinned down for longer periods). Do not buy a tent unless you feel you could put it up while wearing gloves in bad weather. Avoid constructions with too many different pole lengths and convoluted pole sleeves. If you do take a three or three-plus season tent, make sure it has a fabric (rather than a mesh) inner to prevent cold drafts from chilling the inside of the tent. Strap the poles of the tent underneath the compression straps on the outside of the pack, put the canopy inside the pack in a Lightweight Dry Sack.
3. A sleeping bag and sleeping pad
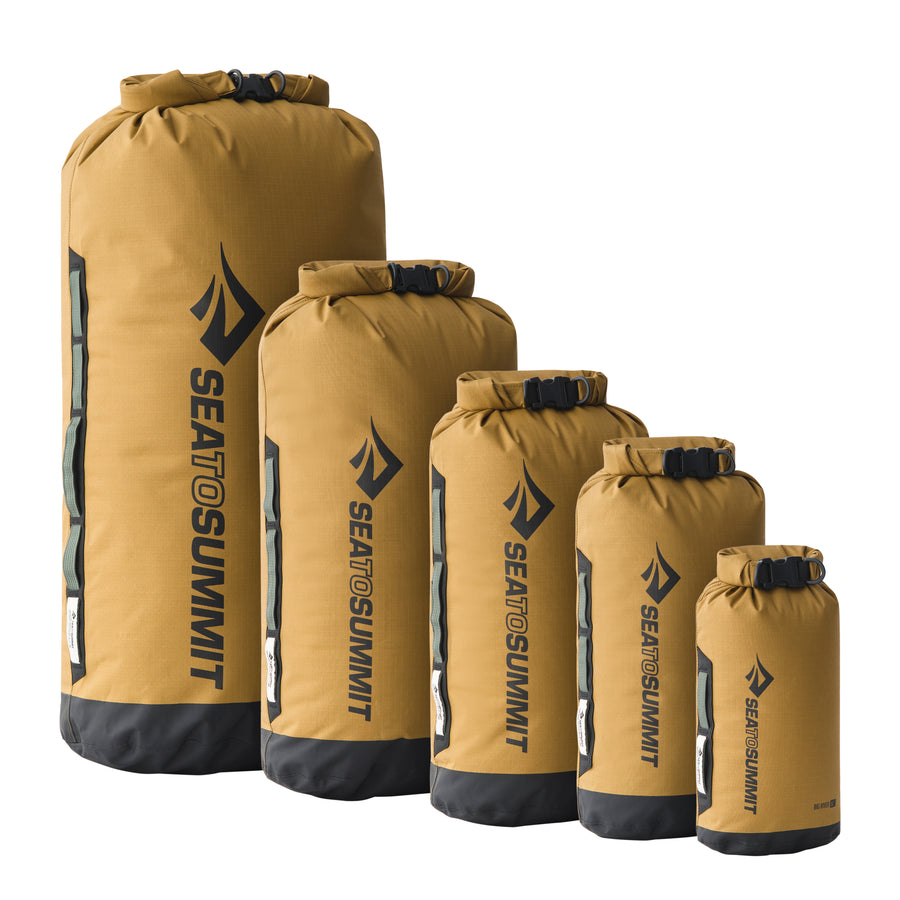
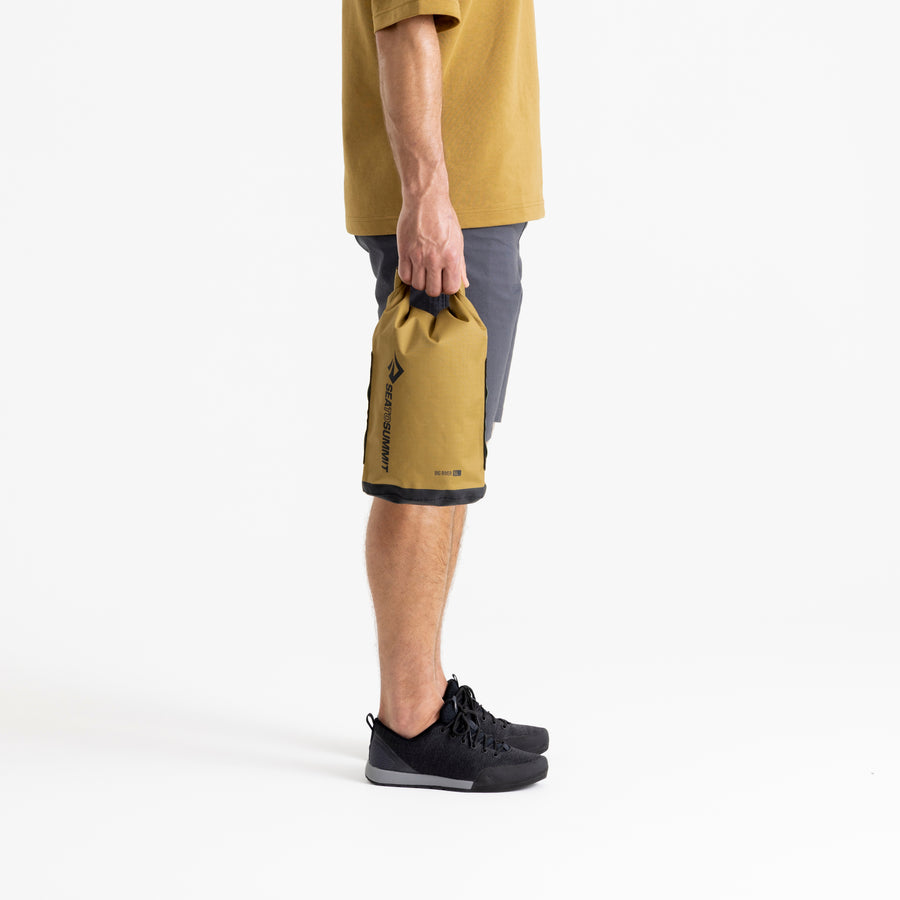
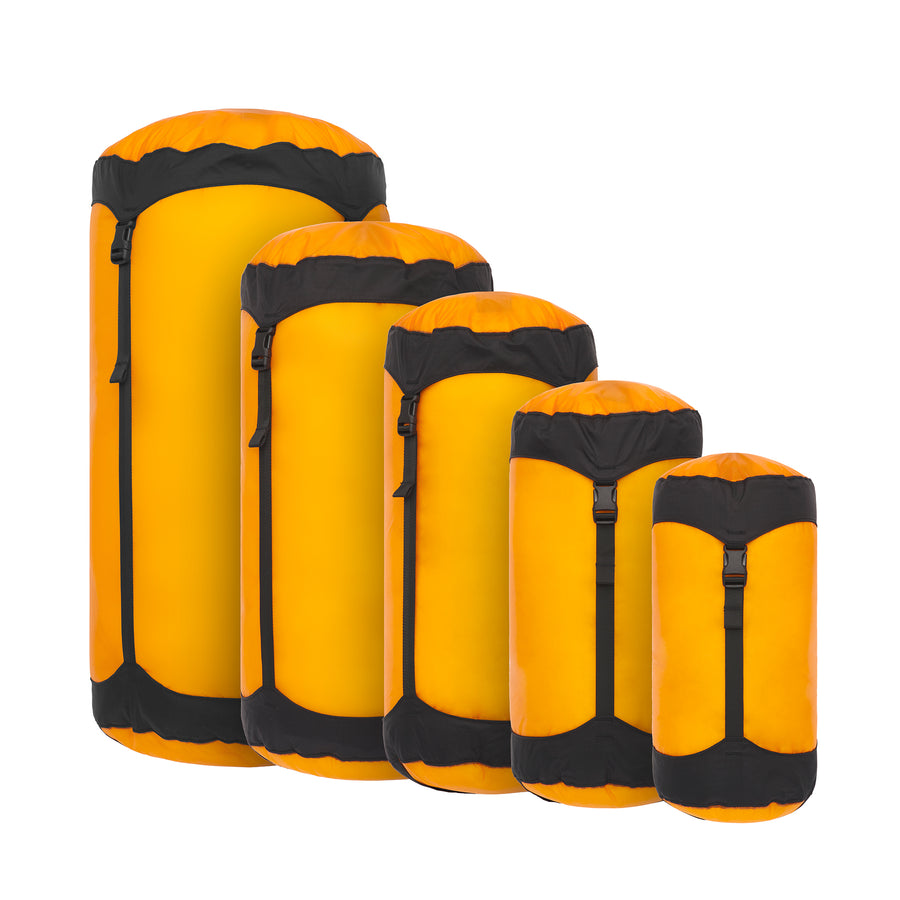
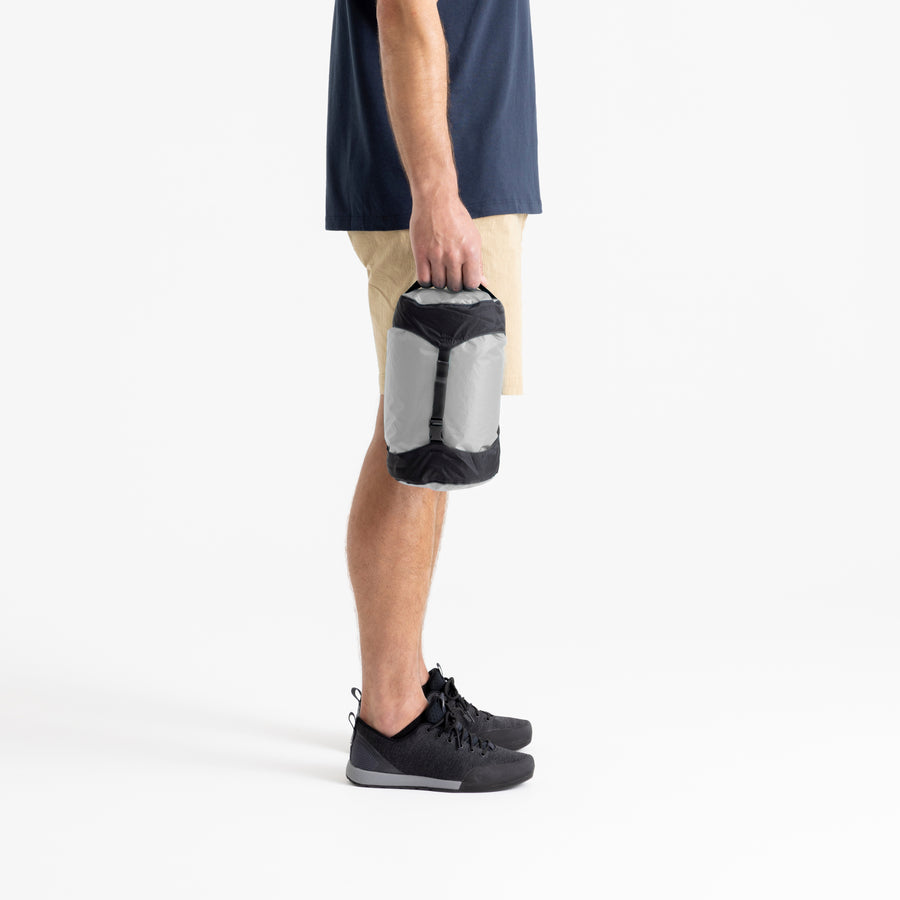
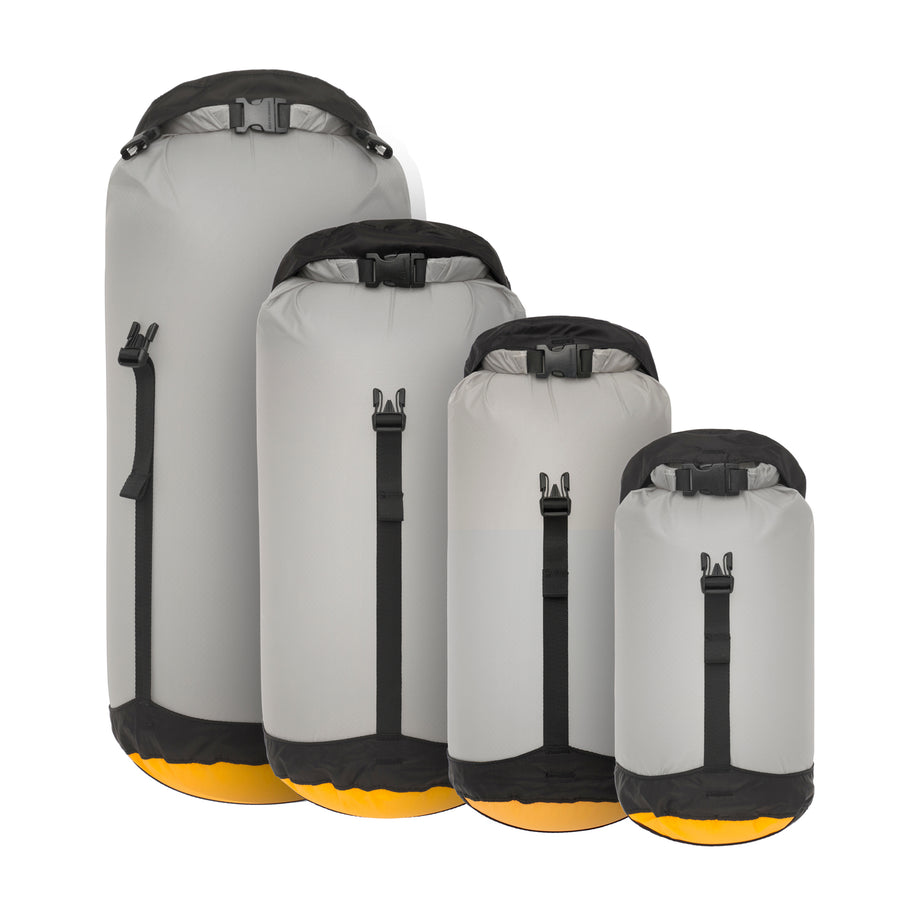
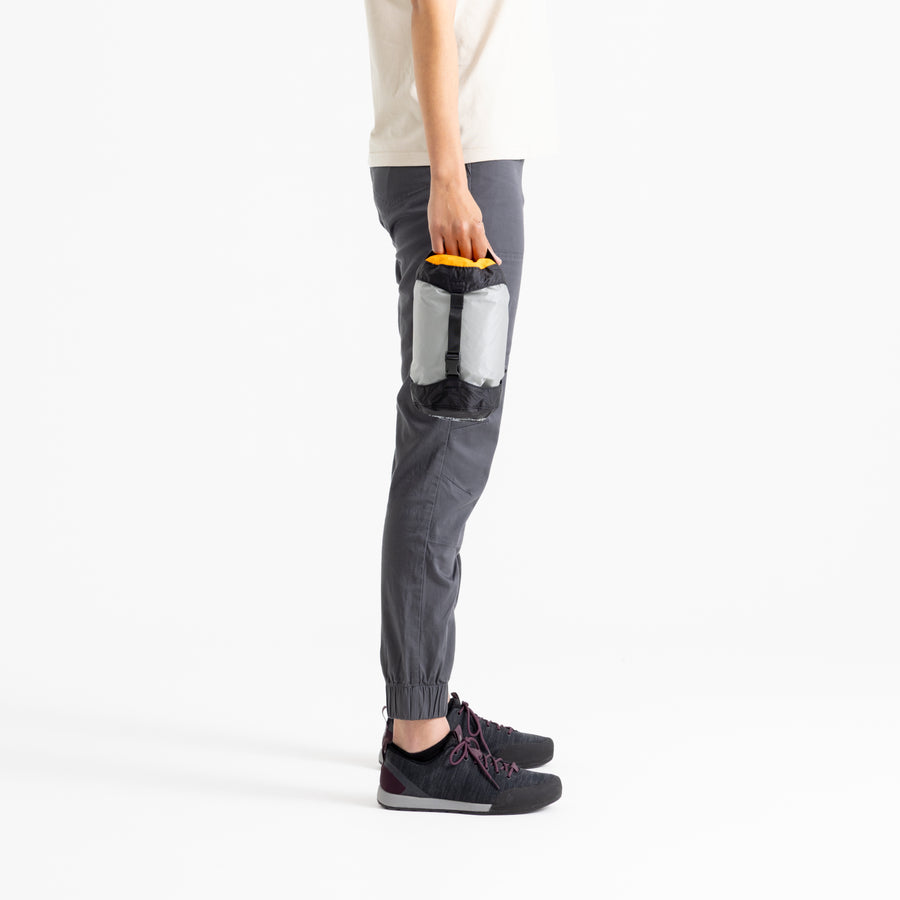
Winter sleeping bags are bulkier than Spring/Fall bags, and should be packed in an eVent Compression Dry Sack. When choosing a compression sack, allow a little extra room – it’s tougher to pack things into tight spaces when your hands are cold. It’s far more important to be confident that your winter sleeping bag is accurately rated than a Spring/Fall bag. Baz hears the term “zero degree bag” used loosely in outdoor stores – just remember that 0°F (-18°C) is the temperature of a deep freeze. You’ve seen what happens to food that spends the night in your freezer; Mother Nature is trying to do the same to you. Ask if the sleeping bag has been rated using the EN Norm and if it has, make sure you understand how this rating system applies to you.
Make sure the bag you’re looking at fits you without you compressing the insulation around your knees and feet – the former requires an adequate width, the latter requires ergonomic shaping of the foot box. Look at details like draft tubes and hoods – these are areas where manufacturers save money, but where warmth ‘leaks out’ of a sleeping bag. Make sure both are adequately dimensioned/adequately shaped to keep warmth in. If you can ‘flip’ the draft tube of the bag over in the store, you will do this when you roll over in your sleep – this removes the insulation between you, the zipper and the outside world. The Ascent Ac III would make our short list for a winter trip. If you're really going out into the tundra, consider the Alpine Down Winter Sleeping Bag.

Before we move on to discussing sleeping pads, it’s important to think of your sleeping bag, sleeping pad, and liner as a ‘sleep system’. We get a lot of comments via the blog where the sleeper got cold despite a supposedly warm enough sleeping bag, where it transpires that the sleeping pad did not provide adequate insulation. This is an essential part of winter camping. You can read about using liners, sleeping bags, and mats to form sleep systems HERE
As to liners, not only will they add in warmth that may be missing from the sleeping bag manufacturer’s optimistic rating, they will also help keep body moisture from getting into the down and freezing (it’s important to air out the liner each morning). The Reactor Extreme or Reactor Thermolite Fleece Liner are ideal for winter trips.
OK – onto sleeping pads. When thinking about a sleeping pad, insulation is key: the insulating ability of a pad can be expressed as an ‘R’ value. Anything below 5-6 will not insulate you adequately – remember, the ground may have been frozen for weeks and may be much colder than the air temperature. Make sure the pad(s) you choose will be warm enough. A foam pad will not absorb water and can be safely strapped to the outside of a pack without risk of undue damage (use Accessory Straps with Hooks for this) – air-filled and self-inflating pads are better kept inside your pack. Using multiple pads is a good idea in very cold conditions: a foam pad on the floor of the tent and an insulated pad on top of this. Pick a sleeping pad whose R-Value has been tested in an independent lab. Fortunately, since January 2020, all sleeping pad manufacturers test for R-Value according to the ASTM standard.
If you find you’re having trouble warming up your sleeping bag, boil water, pour it into a Nalgene bottle (seal it tightly!) and use this as a hot water bottle. Alternately, chemical heat pads (glove warmers) can be pressed up against your body (under your arms and between your thighs) to help keep you warm. If you’re using a canister gas stove, you’ll need one of these heat pads – covered in the Cooking / Eating / Washing section in Part 2 of this post.
If you’ve never skied or snowshoed with a backpack, you might want to practice before you launch into a full-fledged tour. You should also make sure that your skis and bindings/snowshoes are in good shape – sharp edges and a good base wax job for skis, all moving parts of the bindings maintained and sprayed with silicone for skis or snowshoes. Ski skins should be treated with anti-stick wax or spray so they don’t clog up with snow, boots should be thoroughly waterproofed with a product such as Grangers G-Wax (for leather boots) or Footwear Repel (for ‘soft-shell’ ski boots).
More tips and gear suggestions in the next installment – and in the meantime, if you have any questions on this post, just ask.
B


![Ground Control Guy Cords - [4 Pack]](http://seatosummit.com/cdn/shop/products/GroundControlGuyCords-03-USP-IntegratedCordLengthAdjuster-GreyTent.jpg?v=1613434809&width=900)
![Ground Control Guy Cords - [4 Pack]](http://seatosummit.com/cdn/shop/products/GroundControlGuyCords-02-USP-QuickConnectKnotFreeVToggleAttachment-GreyTent.jpg?v=1613434816&width=900)