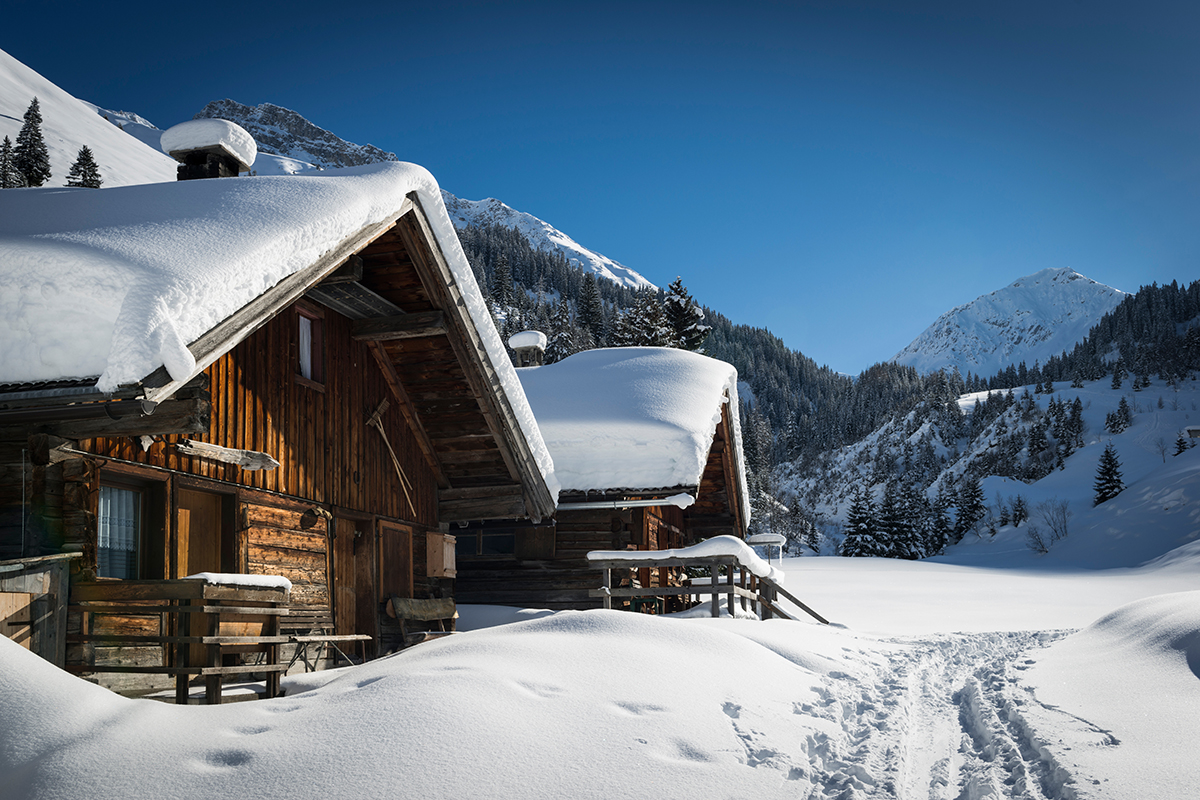
Tips for Planning Your First Hut Trip
Things to find out before you pack your backpack
Find out what facilities the hut offers.
Larger huts will have kitchen areas with propane stoves, cookware and tableware, and dishwashing supplies. The bunk room will have mattresses, the outhouse is stocked with toilet paper. Solar panels provide power for light. You will therefore not need to carry a sleeping pad, nor a stove, pots, pans, plates or cutlery.
Small huts will generally have bunks with mattresses, but no propane stoves (although there may be cookware). Photovoltaic lighting is uncommon in rustic huts. You probably will not need a sleeping pad, and may not need pots and pans – but you should carry a small stove, some cookware (such as an X-Pot) and tableware. Bring dish washing necessities and your own toilet paper/hand sanitizer.
Find out how warm the sleeping quarters will be.
Larger huts often have the bunk room on the upper level. Heated by the wood stove in the main room, the upstairs will therefore be quite warm overnight. If this is the case, a lightweight summer sleeping bag (for instance the Traveller or Spark Sp II) may be perfectly adequate.
Small huts usually do not have a separate bunk room – you will often sleep in the same main room alongside the wood stove. This is not as warm as an upstairs room, but the temperature in the hut is unlikely to drop as low as freezing. A ‘Zero Degree’ (-20° C) sleeping bag is therefore just extra weight and bulk to haul up the hill. A Trek Tk I or Ascent Ac I would work well.
Find out what the expected weather and avalanche risk will be.
This may affect the route you choose when skiing or snowshoeing up to the hut.
What clothing will I need…
…at the hut?
You will need a change of base layers (top and bottom) and a change of socks for each day you will spend at the hut. When you first arrive, your base layers will be damp with sweat from the ski/snowshoe in – changing base layers should be your first job after lighting the fire in the wood stove. Until the hut warms up, you will need a fleece layer – in rustic huts, you may need to put on your down jacket until the stove gets up to temperature. Hut booties are more pleasant than simply wearing socks around the hut (you will have removed your ski boots and put them close to the stove to dry, along with wet jackets, gloves, and hats). For trips out to the outhouse (especially in the case of a rustic hut, where the outhouse may be some distance away), you will need your down jacket and gloves.
…on the trail?
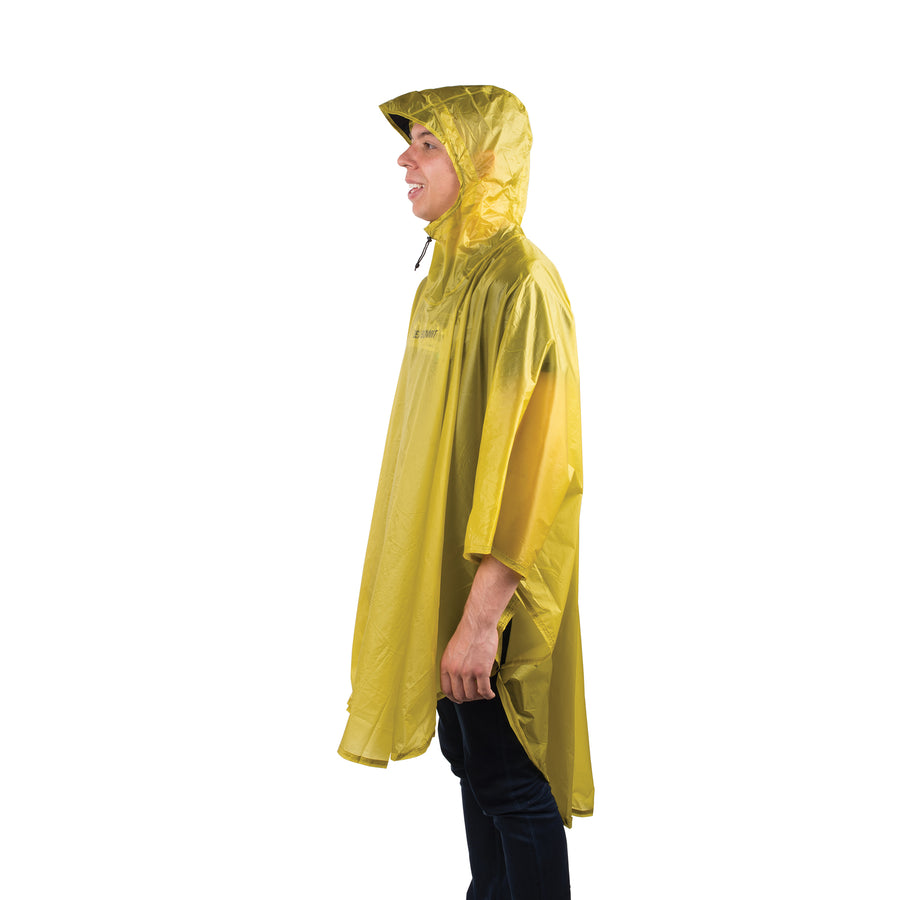
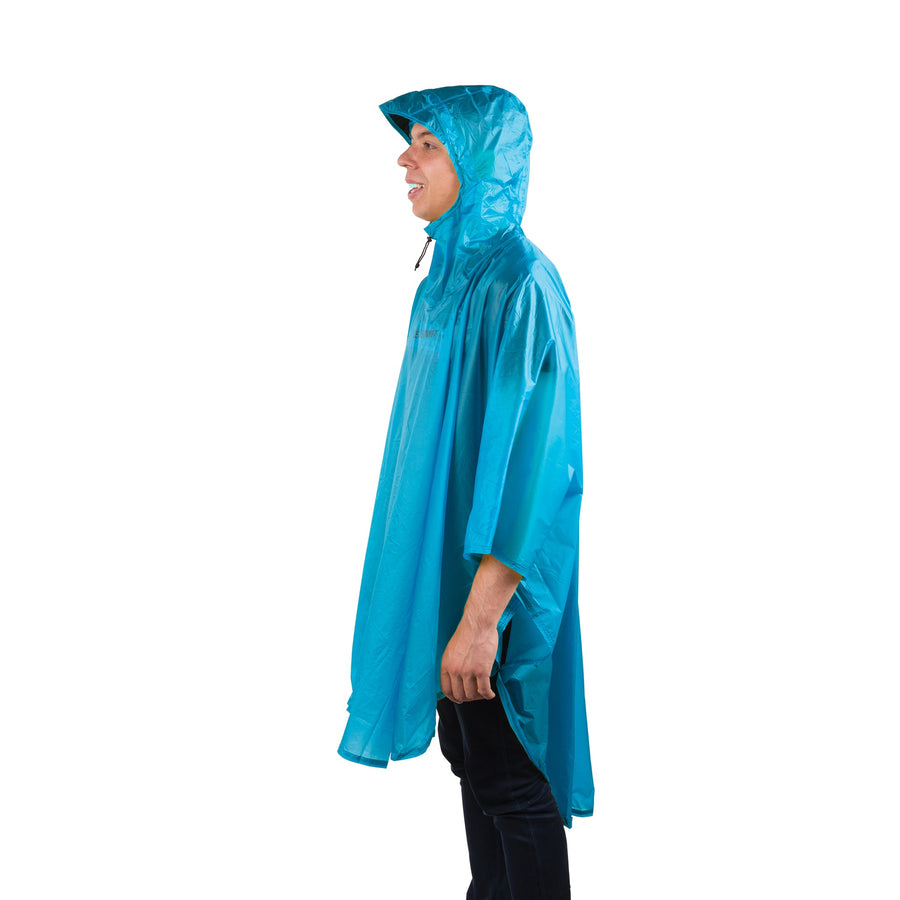
If you are likely to encounter wet snow, you will need a ‘breathable’ waterproof shell. If not, a soft shell jacket is often a more comfortable alternative. When choosing a ski jacket, make sure that it has an internal pocket for your camera, and large external pockets for your hat and gloves (and possibly for your lip balm). Even in wet snow, soft shell pants are usually adequate; they are definitely stretchier and more comfortable than hard shell pants. In really cold weather, you will probably want long base layers under your shell pants. Whether you choose a hard or soft shell, make sure it is cleaned and waterproof before you leave home – use products such as Grangers Performance Wash and Clothing Repel for this.
For your upper body, a base layer and a light fleece under your shell jacket is often adequate when climbing; see the panel on ‘layering down’ below.
If you are using Nordic skis, or are snowshoeing, you should definitely consider gaiters – they will keep snow from getting into your boots. The Sea to Summit Alpine Gaiter would be a really good choice.
A pair of lighter – perhaps softshell – gloves and a thinner wool hat is often adequate when skiing uphill. For colder temperatures, you will need heavier gloves or mitts and a thicker wool hat or balaclava – nice if this can be used as a neck gaiter.
Sunglasses (with a soft pouch to protect and clean the lenses) are essential. If you expect to encounter blowing snow, you may opt for ski goggles.
Layering down.
A key point with clothing is not to overdress when you are heading uphill. You will be exerting quite a lot of energy in climbing, and this can easily translate into your clothing becoming soaked with sweat – which can lead to you becoming seriously chilled if your pace (and the temperature) drops. However, you should make sure you have warm clothing (such as a down jacket) easily accessible for when you stop, perhaps for a lunch break – it is surprising how quickly you can get cold when you are no longer working your way up a steep gradient.
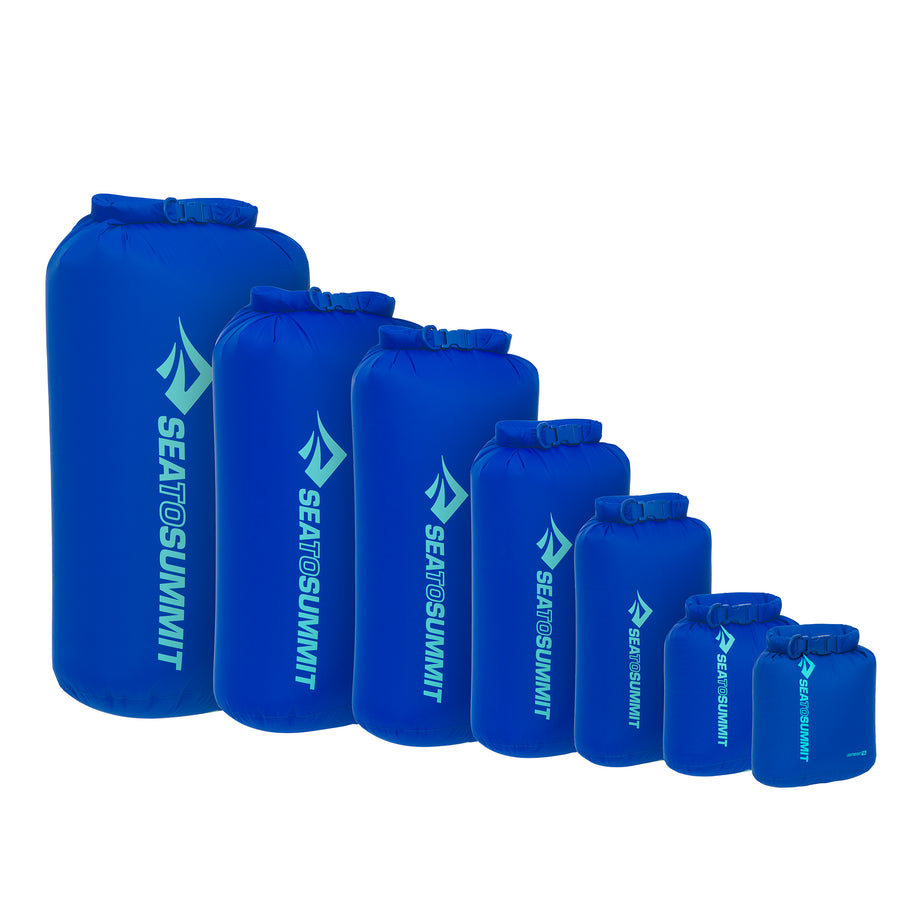
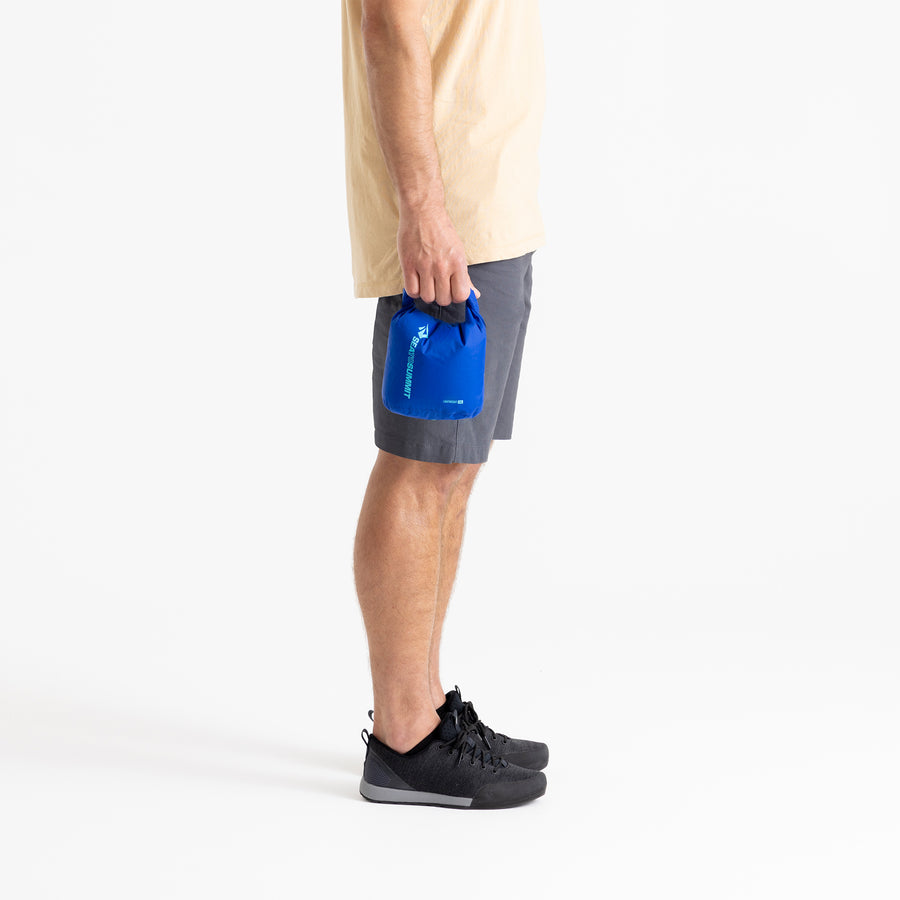
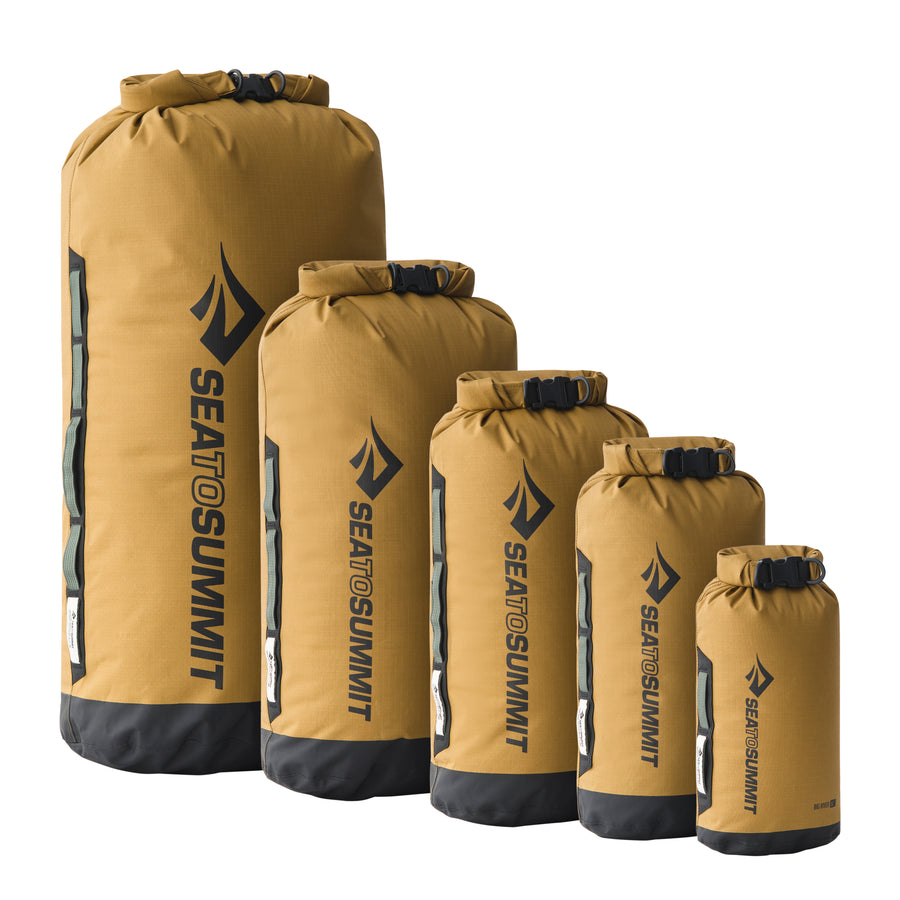
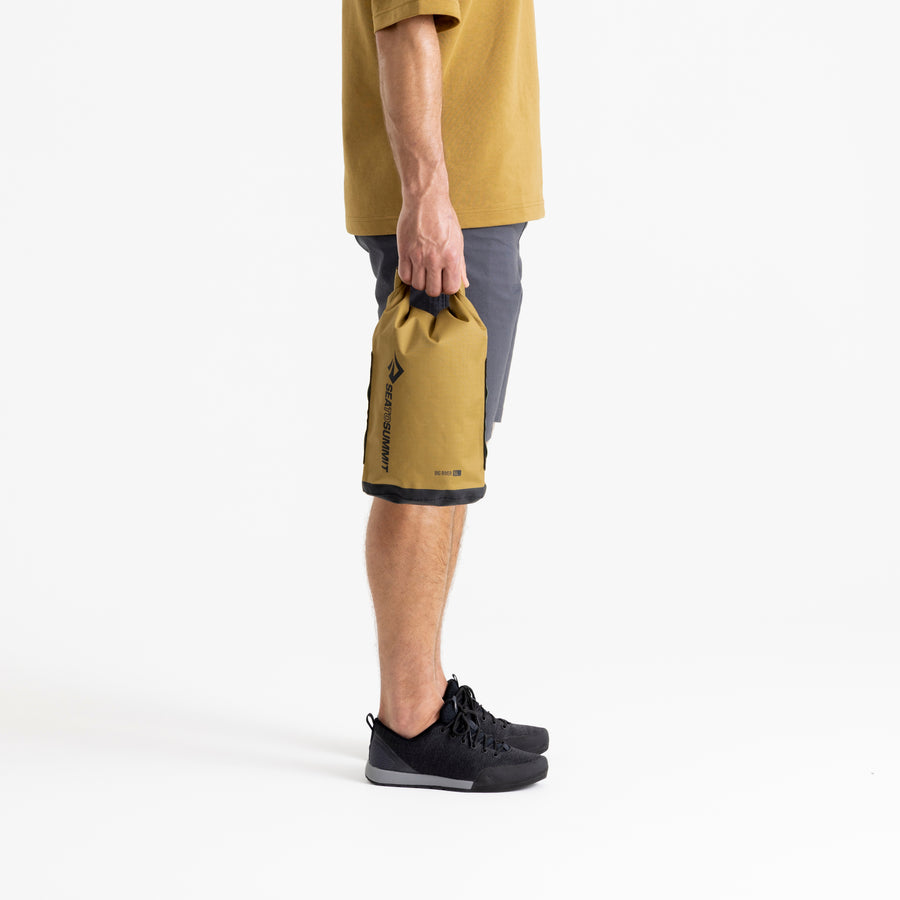
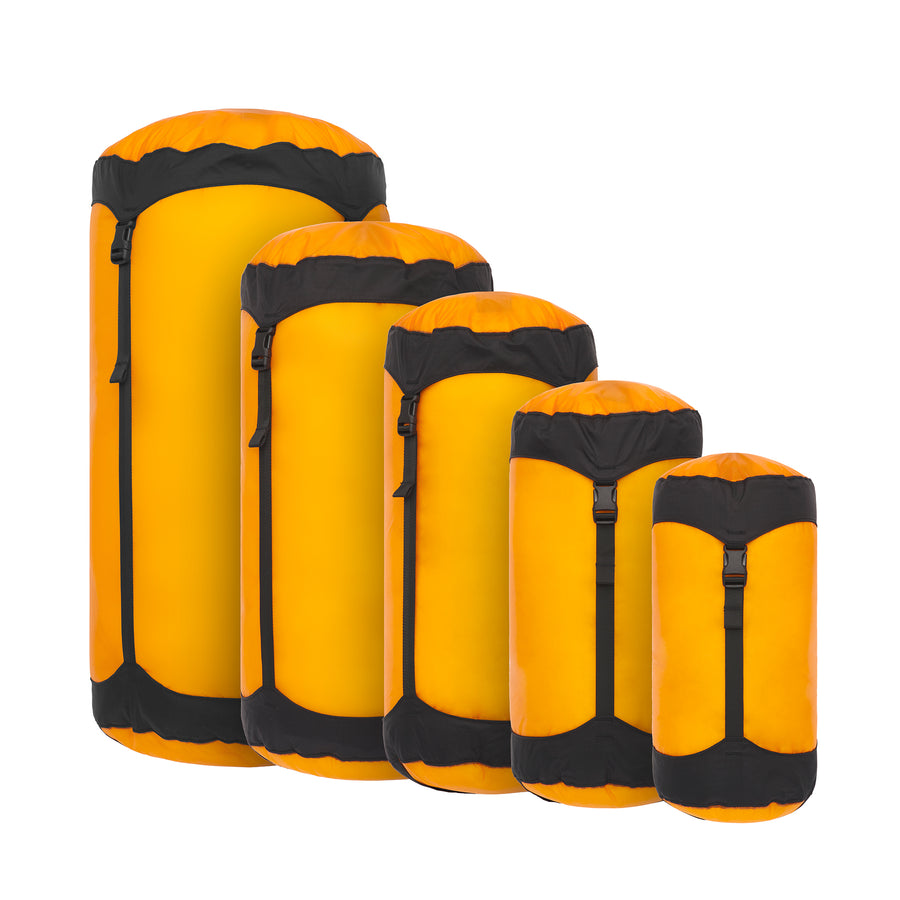
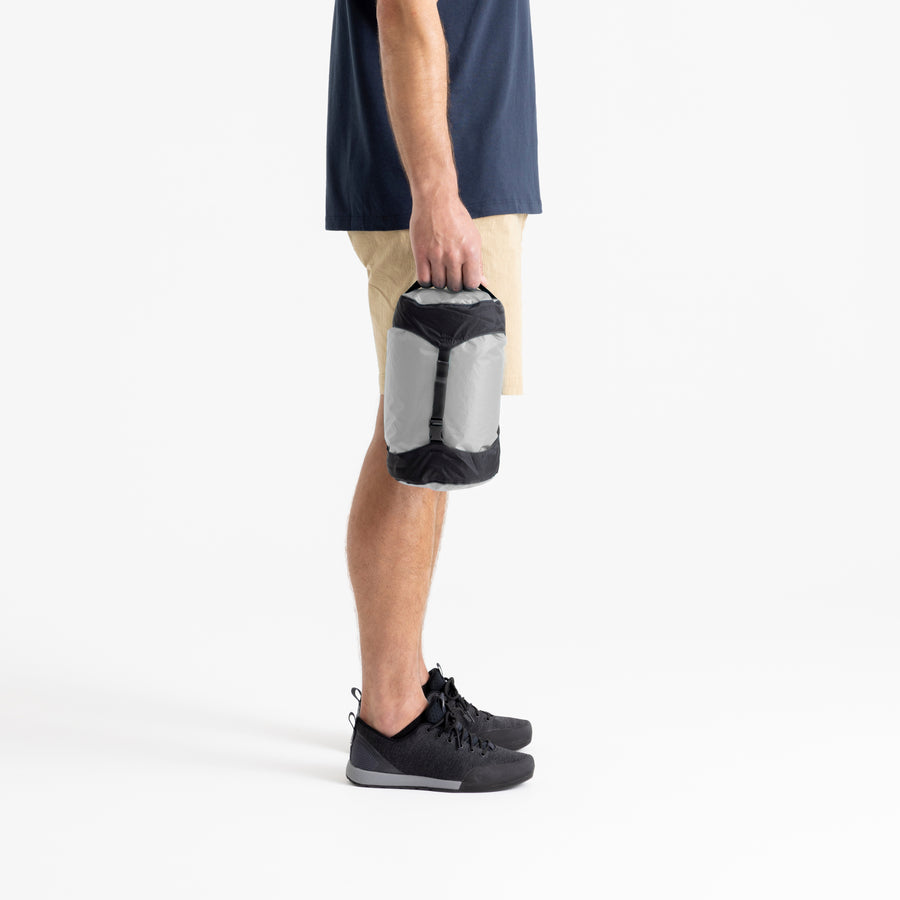
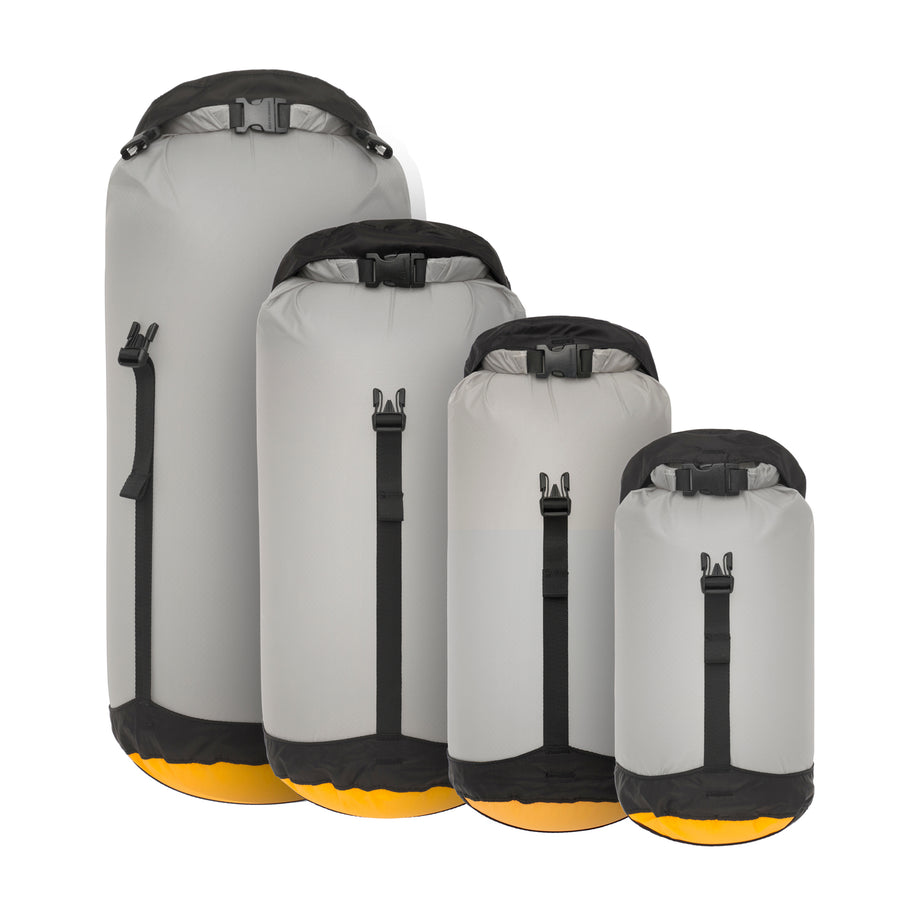
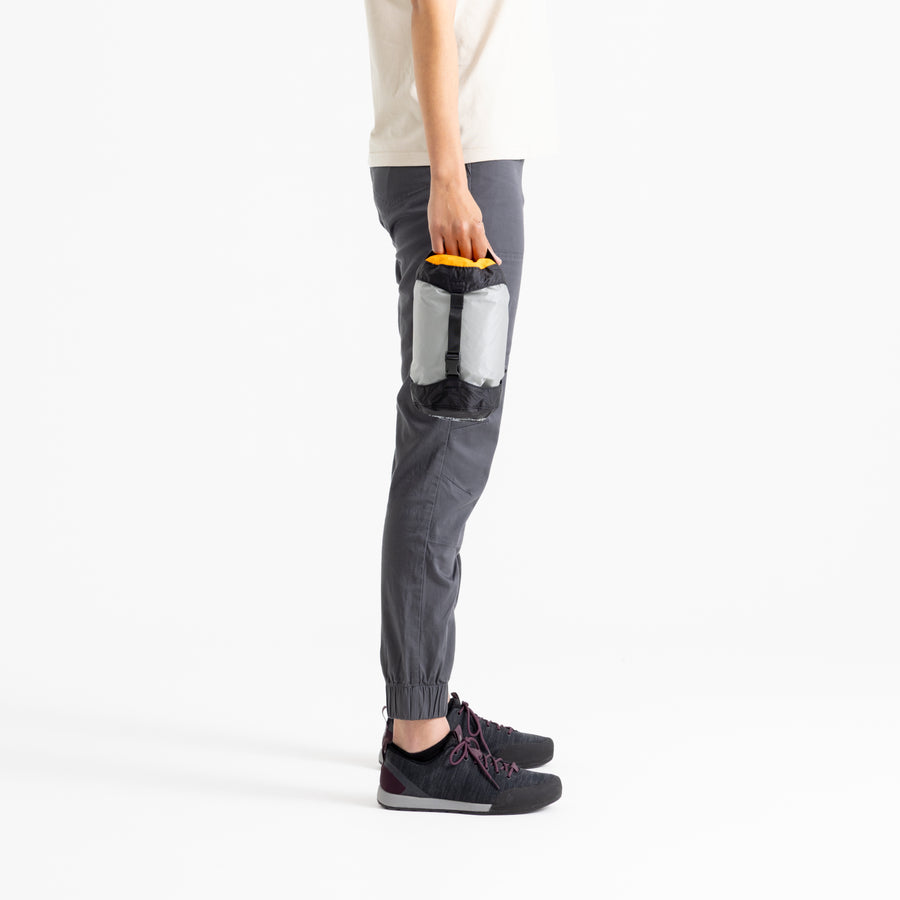
It goes without saying (I hope) that all your clothing and your sleeping bag should be packed in dry sacks; Ultra-Sil Dry Sacks for non-compressible clothing, eVac Dry Sacks or eVent Compression Dry Sacks for insulated clothing and your sleeping bag.

What gear will I need…
…at the hut
One person in the group should have a firestarter kit (large huts will have plenty of matches, but it never hurts to have a butane lighter or a flint in your pack). You will also need at least one first aid kit per group (make sure you have plenty of supplies to treat blisters, which are the most common medical issue when ski or snowshoe touring. Our recommendation: Glacier Gel Bandages from Adventure Medical Kits).
Each person will need a toiletry kit (with extra toilet paper if you will be staying at a basic hut). Make sure you have hand sanitizer (for instance Trek and Travel Hand Sanitizer)
For other gear – sleeping mats, sleeping bags, cookware & tableware – see the lead-in paragraph ‘Things to find out before you pack your backpack’. Knowing what you will need and what you do not need is key: see the panel entitled ‘Volume control’ below.
…on the trail
You will need skis with skins or snowshoes (jump to the end of this post, titled “Ski Types”, for more information). Your skis should be freshly waxed before you set out – if you are renting skis, this will be part of the service; if not, your local backcountry shop will be able to wax your skis for you. Take liquid wax (for instance, Holmenkol Natural Skiwax Fluid) to refresh the waxed base of your skis on a multi-day trip, and to prevent snow sticking to the scales of your skis (if using Nordic gear).
Ski skins should be treated with a waterproofing product (such as Nikwax Ski Skin Proof) to prevent snow from sticking to them if temperatures warm up. Ski/snowshoe bindings should be inspected and sprayed with silicone spray to ensure all parts are moving smoothly. Nordic ski/snowshoe boots should be waterproofed (Grangers Footwear Repel is great for the ‘soft shell’-fabrics found in many Nordic ski boots).
You will need touring poles (which extend out longer than trekking poles). Adding a spare pole ‘basket’ to your toolkit is a good idea – someone in the group always seems to lose one at some point. That kit should include a tool which can tighten the screws which hold your bindings to your skis.
Skiing uphill, you will not need a helmet. For the descent, and for any tree-skiing, you might do from the hut – a helmet is a good idea.
In an easily accessible pocket in your pack, you should have a headlamp (fully charged if rechargeable, with spare batteries taped in threes if not); trail maps and a GPS unit; a loud whistle; sunscreen and lip balm. In really cold weather, a few chemical hand warmers in your pack can ward off frozen digits.
If you use a drinking bladder, make sure that the tube and the bite valve have an insulating cover. If you don’t care for bladders, a drinking bottle in a holster on the side of your pack works fine – try the insulated Polar Bottles and turn the bottle upside down in the holster if it is really cold.
For huts above treeline, you will need an avalanche beacon/avalanche probe/shovel. If the trail to the hut will take you through avalanche terrain, you should be wearing your beacon from the point where you set out. At the trailhead, one member of the group should switch his or her beacon to ‘receive’ and check that each member’s beacon is transmitting. Your avalanche probe and shovel should be easily accessible. If the shovel is carried externally on your pack, make sure it is mounted with the blade facing downwards – you don’t want to fall with a shovel blade pointing upwards at the nape of your neck.
Volume control…
Let’s do a little math here. If you follow the above suggestions, your sleeping bag will take up less than 10 liters, your clothing perhaps 12 – 15, and various gear items maybe 6 – 8 liters or so. Food and drink sufficient to live extremely well – perhaps another 12 – 15 liters – brings you to a total of around 50 liters. Carrying a 70-80 liter pack will just encourage you to pack things which you don’t need, and this translates into weight which needs to be hauled up the hill.
A larger pack also puts your center of mass farther away from your body, which is going to make skiing more difficult. On the other hand, it is possible to take a pack which is too small and end up with odds and ends dangling at precarious angles from the outside of the pack – also not good for balance.

Tips for the trip to (and from) the hut:
If you are using scaled/waxed Nordic skis, wait for real climbs to put on skins – with a little technique, you can climb fairly steep gradients without skins, and then enjoy the kick and glide if the terrain levels out further up the trail. If using AT gear, you will probably attach skins at the trailhead. Whichever type of skis you are using, roll your skins tail-first when packing, so the tips will be ready to attach to skis – this can be helpful when putting on skins in windy conditions. On steeper downhills, less-experienced skiers may want to keep skins on their skis to slow them down.
Don’t dehydrate, and snack often. Cold requires your metabolism to work harder and altitude means less oxygen to your muscles as well as your lungs.
Put your headlamp on prior to losing the light.
If in a larger group, have planned meeting points along the way. It goes without saying that nobody should ever be left to ski or snowshoe alone – if you need to break up a group, make sure that an experienced person stays with the slowest members of the group, The faster skiers/snowshoers can go ahead and get a fire going in the hut.
Have realistic mileage goals. 2 miles / 3 kilometers per hour uphill is a fairly quick ski pace; if you are breaking trail it may well be slower than this. For snowshoes, think in terms of 1 to 1.5 miles / 2 kilometers per hour.
Make sure that less-experienced skiers or those using new or rental boots know that they should call for a halt at the very first sign they are getting blisters. Have glacier gel bandages easily available.

Food and drink…
…at the hut
Along with the opportunity to make some turns or hike among the forests and on the slopes of the backcountry, food and drink is the fun part of a hut trip. Going to a larger hut usually means you will be in a fairly large group, and you might be staying two or three nights. Typically, the group will divide up into smaller ‘teams’, each responsible for making dinner and/or breakfast on one day. Overall, each team member, therefore, ends up only carrying the equivalent of one day’s food for one person. But – the results can be spectacular! Teams will sometimes get competitive, outdoing each other with the inventiveness of their menu – and after a hard day’s activity outside, everyone has a great appetite. Pre-measuring ingredients into ziplock bags avoid carrying unnecessary amounts, and packing fresh ingredients (such as cilantro) into sealable X-Seal & Go containers means they will get to the hut in pristine condition.
Wine often adds to the festivities. It should be decanted into foldable water containers (possibly including the Pack Tap) before being packed into your backpack. A friend of the Ask Baz team once offered to take excess weight from a struggling first-time skier on a steep uphill still some miles from the hut, only to discover several full-size glass bottles in the skier’s pack. Flexible containers are not only essentially unbreakable, they are also a lot lighter than glass.
…and on the trail
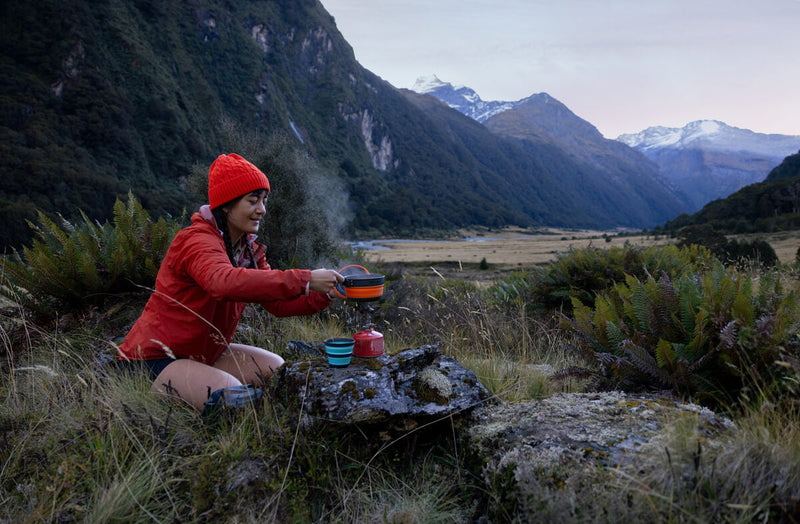
If the trip to the hut will take you more than three hours, you will probably want to stop and have lunch on the trail. Find a spot sheltered from the wind, pull on a warm jacket and sit down on your pack before unpacking the food you have brought with you. Once you click out of your skis, you may find that you will sink into the snow knee or even thigh deep – which is one good reason for wearing gaiters.
Even if you will not be stopping for a sit-down lunch, having plenty of snacks in an outside pocket of your pack will keep everyone’s energy level up. Trail mix, energy bars, and cookies are ideal – and can serve as an incentive if you have children with you in the group.

Tips for a perfect stay at the hut:
Do not bring your skis into the hut – the bases will warm up and may freeze once they touch snow the following day. Your climbing skins, on the other hand, should be brought into the hut to prevent them freezing overnight. Larger huts often have wooden bars suspended from ropes in a ladder formation next to the stove – ideal for drying ski skins and damp clothing.
Have a snack ready while dinner is being prepared (which can take time). Especially in larger huts, the social aspect of being with a group and eating and drinking well is as important as the skiing or snowshoeing.
If you are the first people to reach a hut, get the fire going. If you are the last to leave, make sure there is kindling chopped and ready for the next group – people might arrive with frozen fingers and be really grateful for this courtesy.
Follow all instructions regarding photovoltaic lighting (if the hut is so equipped).
Huts usually have bowls or buckets to collect snow to be melted for water. Collecting snow from further away from the hut may mean less particulate matter in your water. If you have a water filter (or even just coffee filters), you may care to strain the meltwater before drinking it.
Drink plenty of water.
Clean up spilled food to discourage mice. Put food in mouse-proof containers or hang it in bags from rafters overnight.
Better equipped huts will have board games and perhaps even a guitar – as mentioned, the social aspect of a hut trip is one of the most fun parts. For more basic huts, you won’t find board games; you may want to take a paperback book.
Make sure everyone in the group knows where the hand sanitizer is and uses it after visits to the outhouse.
When leaving the hut, if you are the last group make sure the fire is out and if appropriate shut off the circuit breakers for the photovoltaic system.
Have fun – you may just be lucky enough to wake up to fresh powder snow outside the window of your backcountry refuge…

Ski Types
These days, there are essentially only two types of ski used for backcountry hut trips: AT Skis and Nordic Skis. Here are some pros and cons.
AT (Alpine Terrain) Skis
AT Skis look similar to alpine (downhill) skis. The principal difference is that the binding can be opened to allow the boot to pivot at the toe, which means the heel is free to move up and down. This allows the skier to ‘kick and glide’ and to climb uphill (provided climbing skins have been attached). For downhill skiing, the heels are locked down, and the skier can use a normal downhill technique to turn and stop. AT boots also allow greater ankle flex while climbing than relatively rigid downhill boots – this flex can be ‘locked out’ for skiing downhill.
Advantages:
- The skier does not need to learn a new turning technique.
- The skis and boots allow skiing in challenging terrain and varying snow conditions.
- Some modern AT skis/bindings are very light.
Disadvantages:
- The skis do not have ‘scales’, so the skier will need to attach climbing skins at the first uphill. Skins inhibit the ability to kick and glide – on rolling terrain, an AT skier will be faced with the choice of whether to keep putting on/taking off the climbing skins.
- The plastic boots only permit a certain degree of flex; climbing and/or breaking trail can thus require more energy than is the case with Nordic skis. Making sure the boots fit really well is essential before setting out; especially if the equipment has been rented – otherwise blisters can occur.
- A good AT setup is expensive to buy or rent.
Nordic or Nordic Touring Skis
Not to be confused with Cross Country skis, Nordic skis have full metal edges. They are available in a variety of widths; for hut touring, you will need skis which measure 90mm at their widest point (100mm is better). They have scales or areas for ‘stick wax’ on the base, and thus can climb shallower hills without resorting to climbing skins. The bindings only connect the boot to the ski at the toe – this makes for a very natural gait when climbing or kick-and-gliding, but requires the skier to use Telemark technique for turning when skiing downhill. There are two binding standards, 75mm three pin, and NNNBC – the boots must be compatible with whichever binding is used on the ski. Nordic boots feel much more like hiking boots than plastic shell boots – look for models from Madshus, Rossignol, and Fischer for good ankle support.
Advantages:
- Generally lighter than AT skis and boots (less weight to move uphill).
- Generally narrower than AT skis (less drag makes climbing easier).
- Scales or waxed bases allow the skier to climb moderate gradients without needing skins.
- Boots and bindings permit a natural gait and an easy kick-and-glide motion. Boots should be checked for a good fit before setting out – they are less likely to cause blisters than plastic boots, but it can happen.
- Less expensive than an AT setup.
Disadvantages:
- Requires the skier to learn Telemark technique.
- Skis are hard to control in windblown, crusty snow above treeline.
- Skis are too narrow for deep, soft powder snow.
For a first tour, it’s probably best to go with AT skis. Hopefully, the tips contained in the blog post will ensure that you have a really good hut trip and will want to come back for more. And if this happens, you might find that Nordic skis (which fit nicely into the ‘less is more’ ethos) might be worth a look.


![Ground Control Guy Cords - [4 Pack]](http://seatosummit.com/cdn/shop/products/GroundControlGuyCords-03-USP-IntegratedCordLengthAdjuster-GreyTent.jpg?v=1613434809&width=900)
![Ground Control Guy Cords - [4 Pack]](http://seatosummit.com/cdn/shop/products/GroundControlGuyCords-02-USP-QuickConnectKnotFreeVToggleAttachment-GreyTent.jpg?v=1613434816&width=900)