Recovering from a Sea Kayak Capsize
It’s easy to understand the attraction of sea-kayaking: with your gear and rations stowed in the hatches of your boat, you chart your course through bays and across stretches of open water, propelling yourself towards unspoiled beaches and headlands where you will make your camp. In this respect, sea kayaking is to the ocean what backpacking is to forests, or alpinism is to the mountains.
However, like in all outdoor pursuits, the unforeseen will happen. Winds, rain and ocean currents may turn a pleasant sun-drenched cruise into a teeth-gritted battle against the elements.
Or they may cause you to capsize.

For this reason, you will no doubt practice what to do in case your boat suddenly flips over; and you will do this again and again before heading for open water. However, there is a world of difference between rolling over in a shallow bay or even a swimming pool, and capsizing a long way from the shore. Open water may well mean significant sized waves; while the water depth means you can’t put your feet down to assist in getting back into your kayak. And it may be really cold.
It is not possible in an article to provide the information which you will need in order for you to become proficient in getting yourself – or a companion – back into a boat after a capsize, and it would be irresponsible for us to attempt to do so. Before kayaking on open water, or trying any new type of advanced paddling, you should take a rescue course – your local paddling club may well conduct lessons in rescue/self-rescue.
However, we can describe some basic things you should be aware of.
Firstly, the best way to deal with a difficult situation is not to let it occur in the first place. Make sure you have an accurate weather forecast and information on tides and currents before you set out.
Secondly, be aware of the level of fitness and paddling proficiency of each of the paddlers in your group. If someone is tired or at the limits of their abilities, it is better to stop and camp earlier, rather than ‘push on’ to reach a planned goal. It goes without saying that you should never cross open water alone – make sure that paddlers remain within easy visual (and if possible) voice contact. You may care to ‘pair up’.
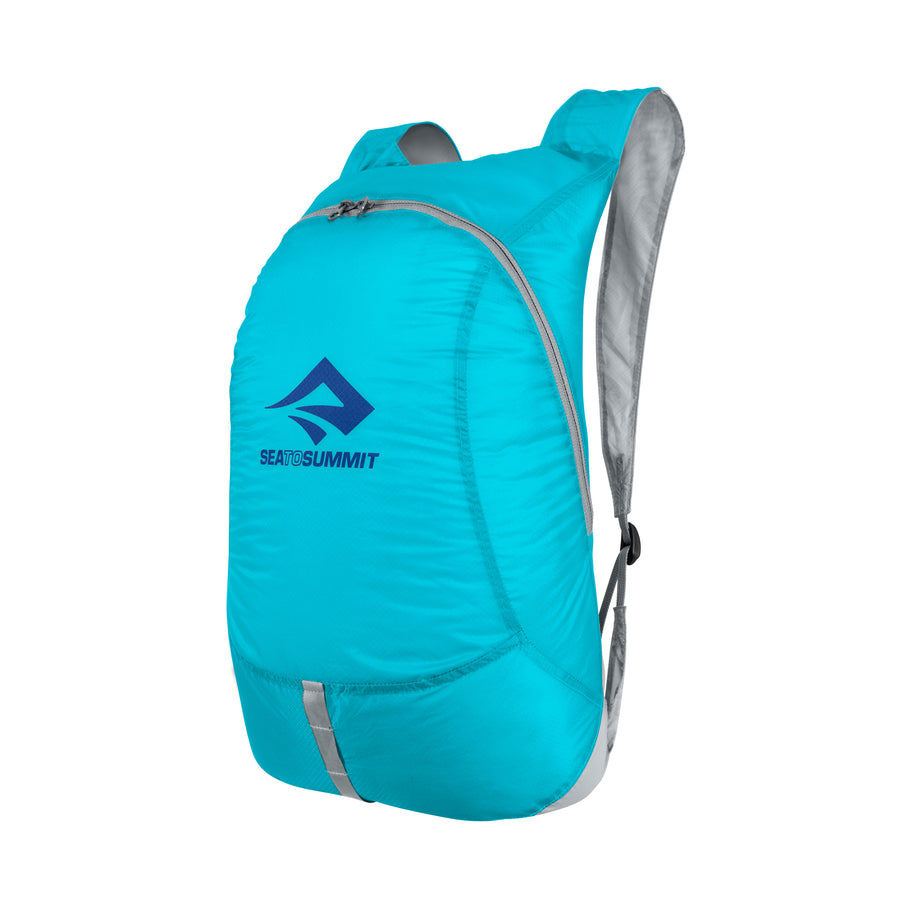
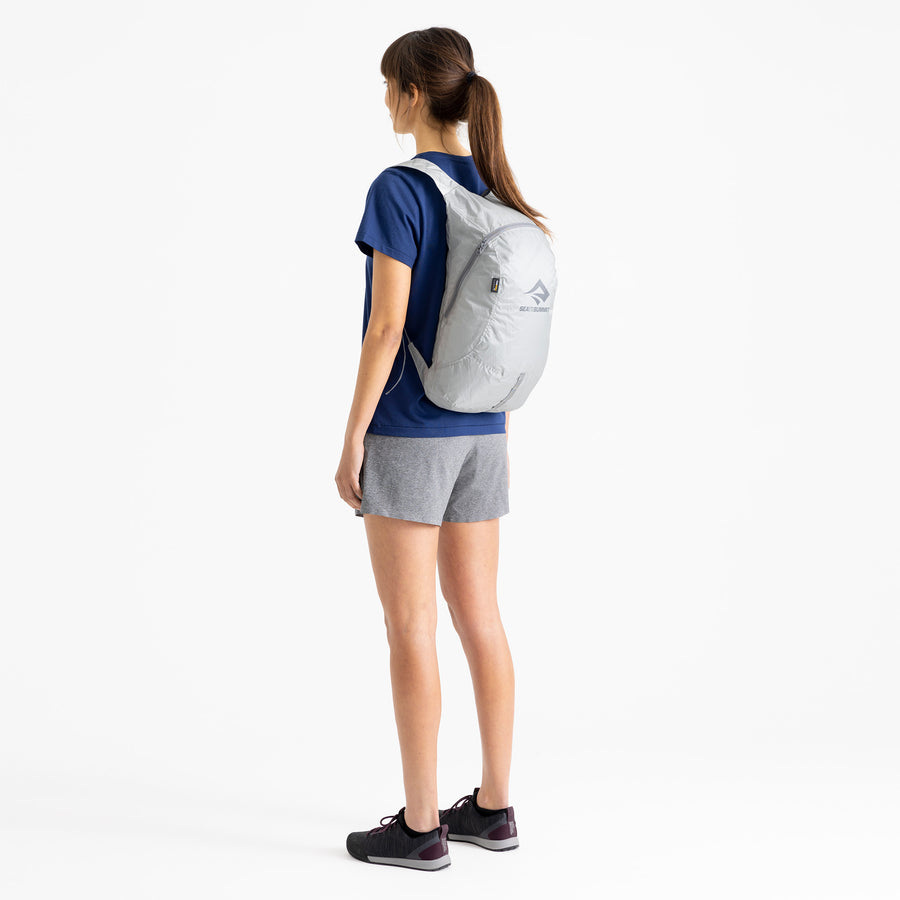
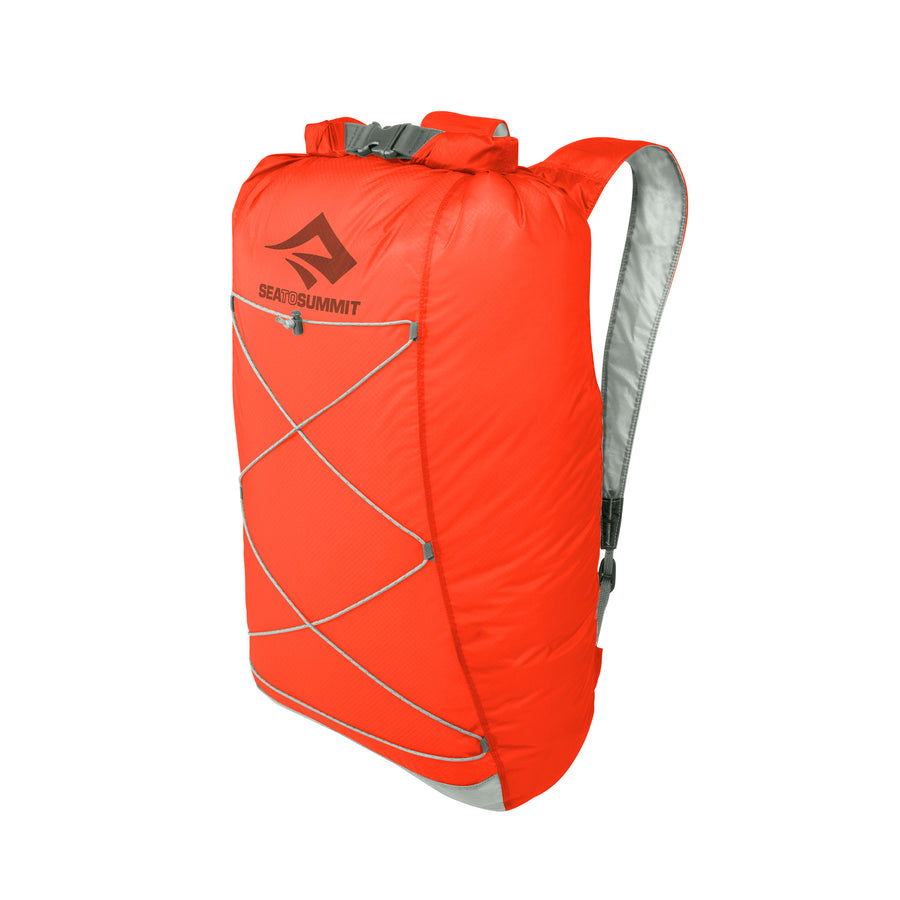
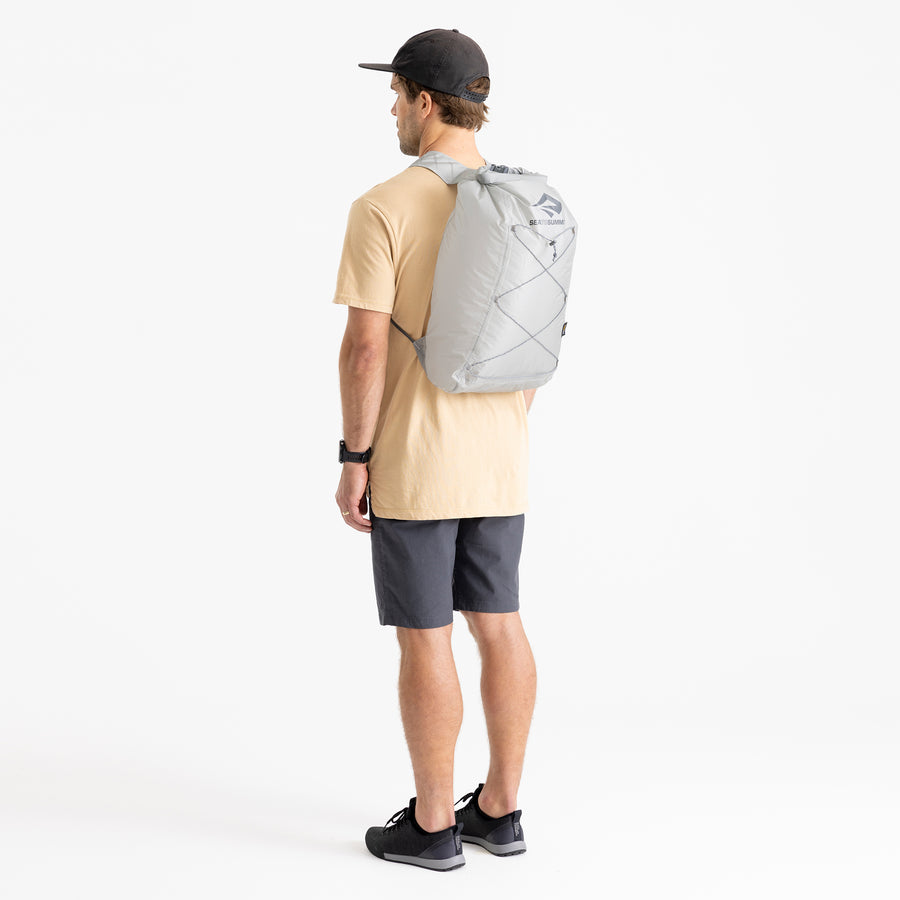
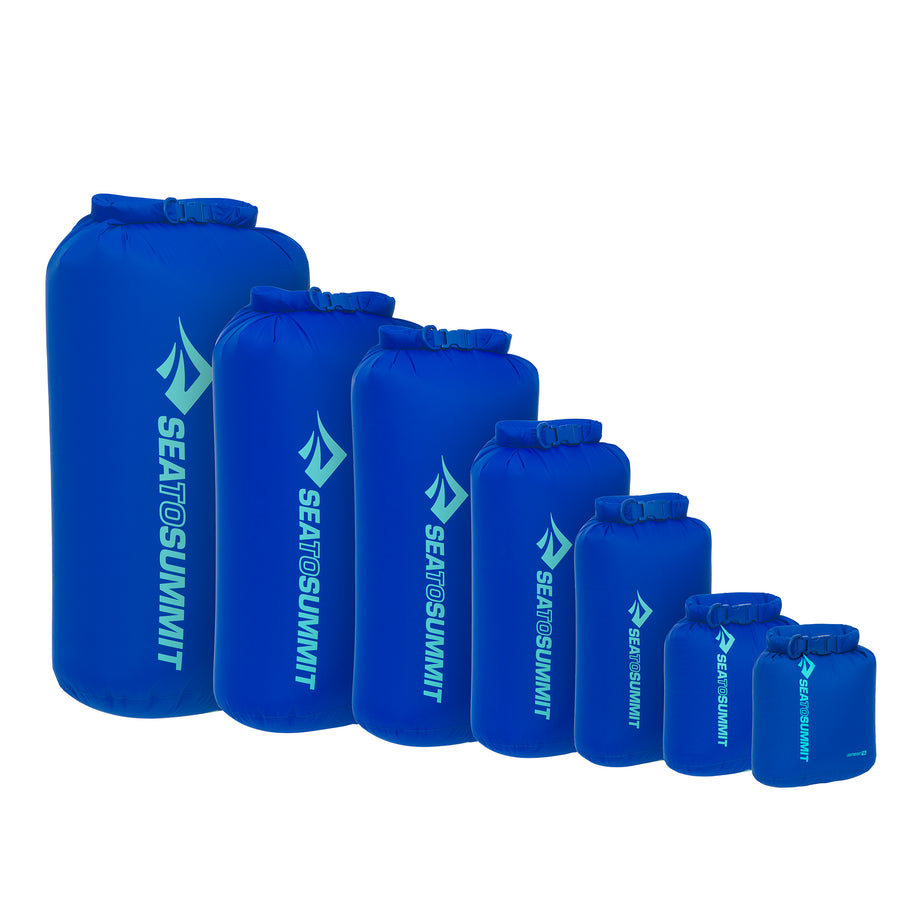
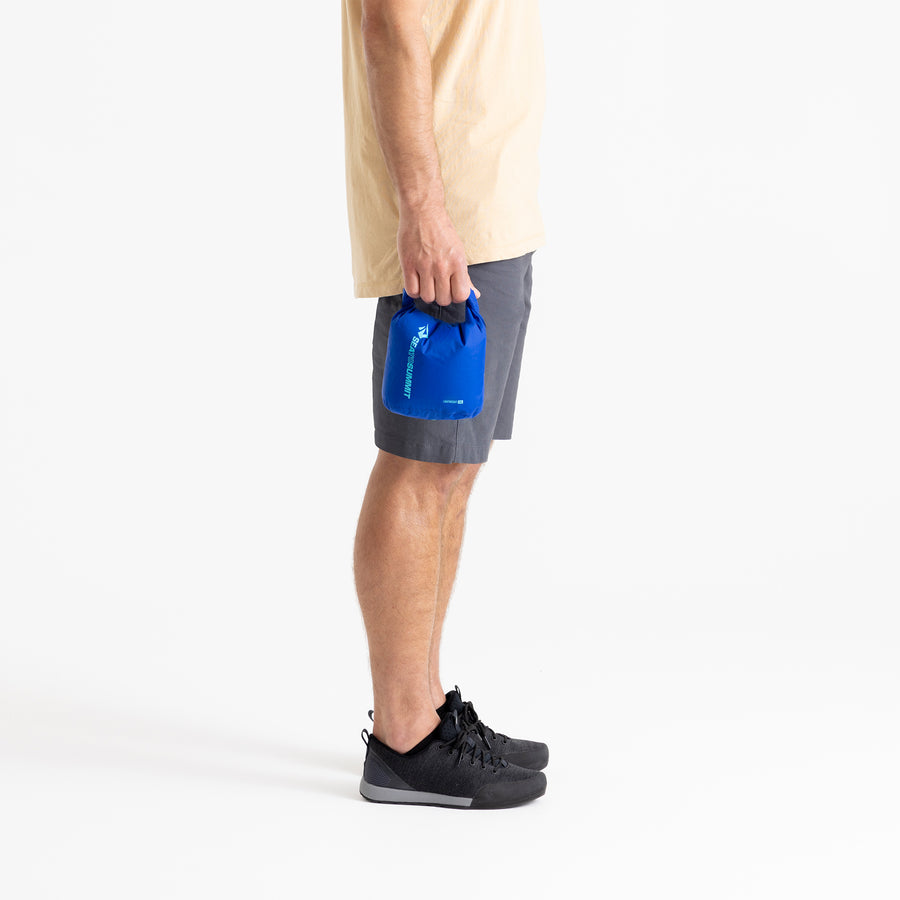
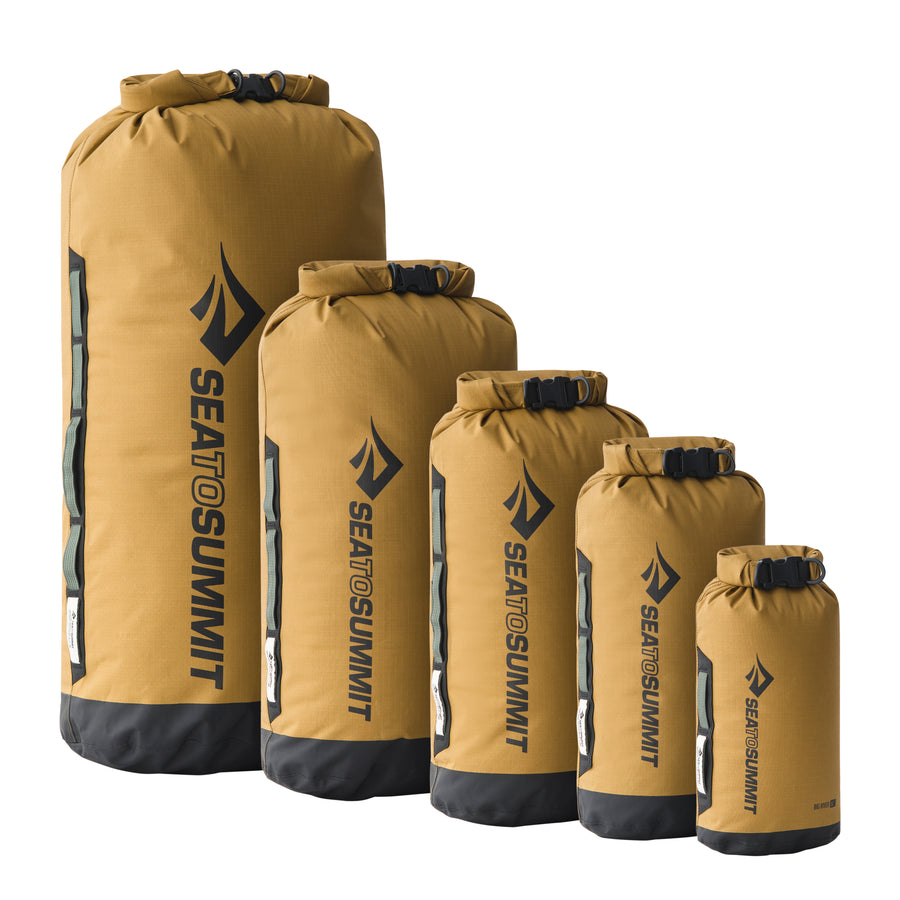
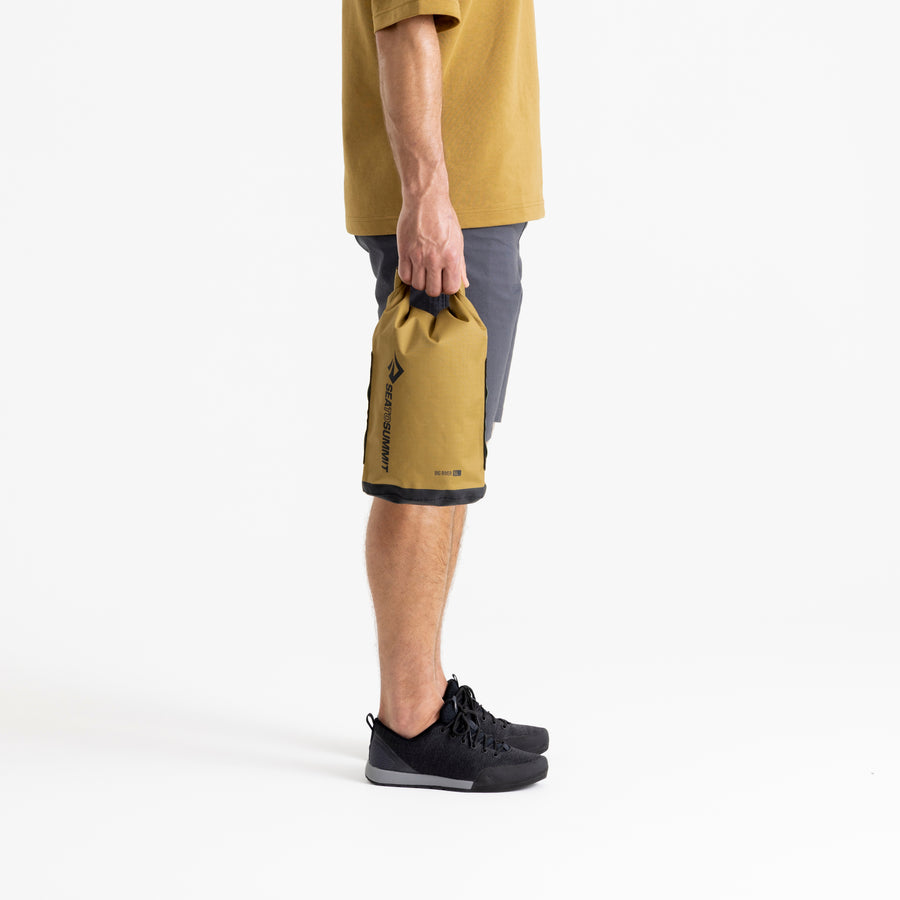
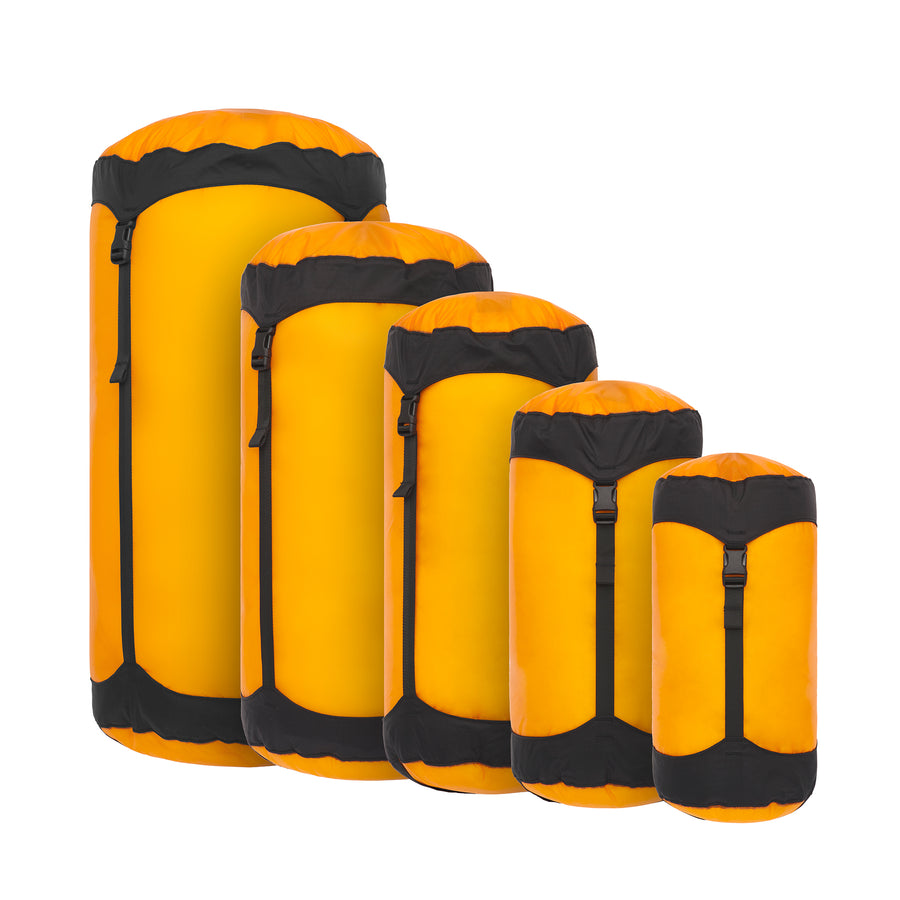
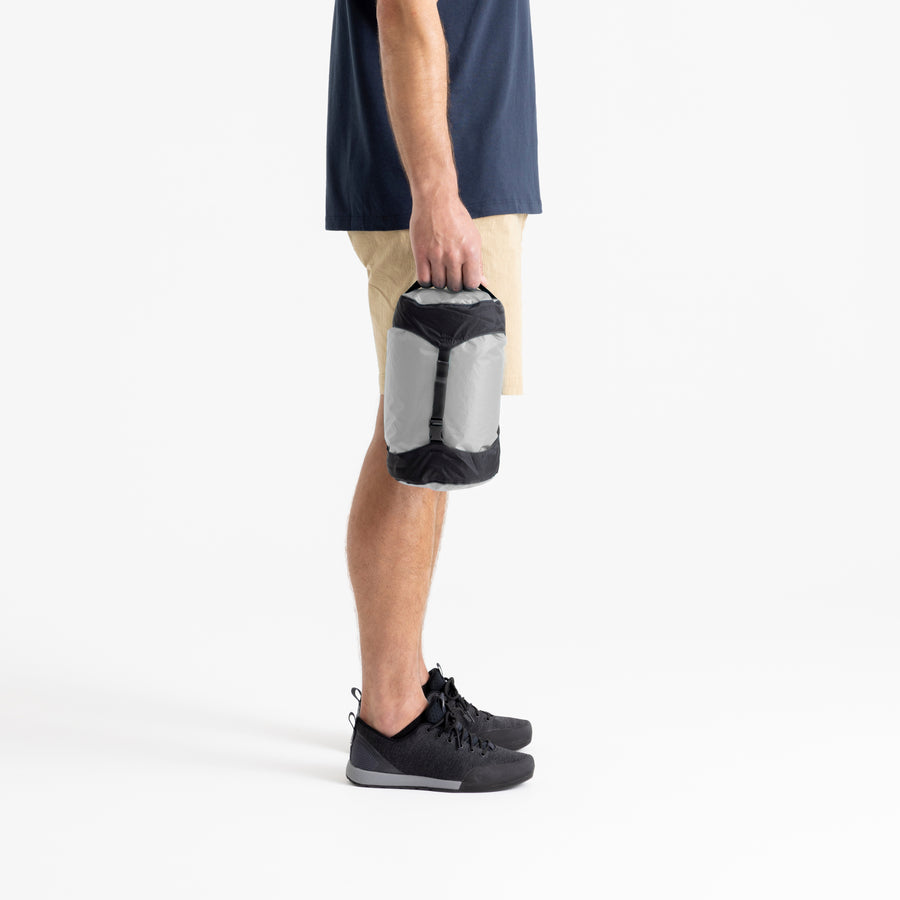
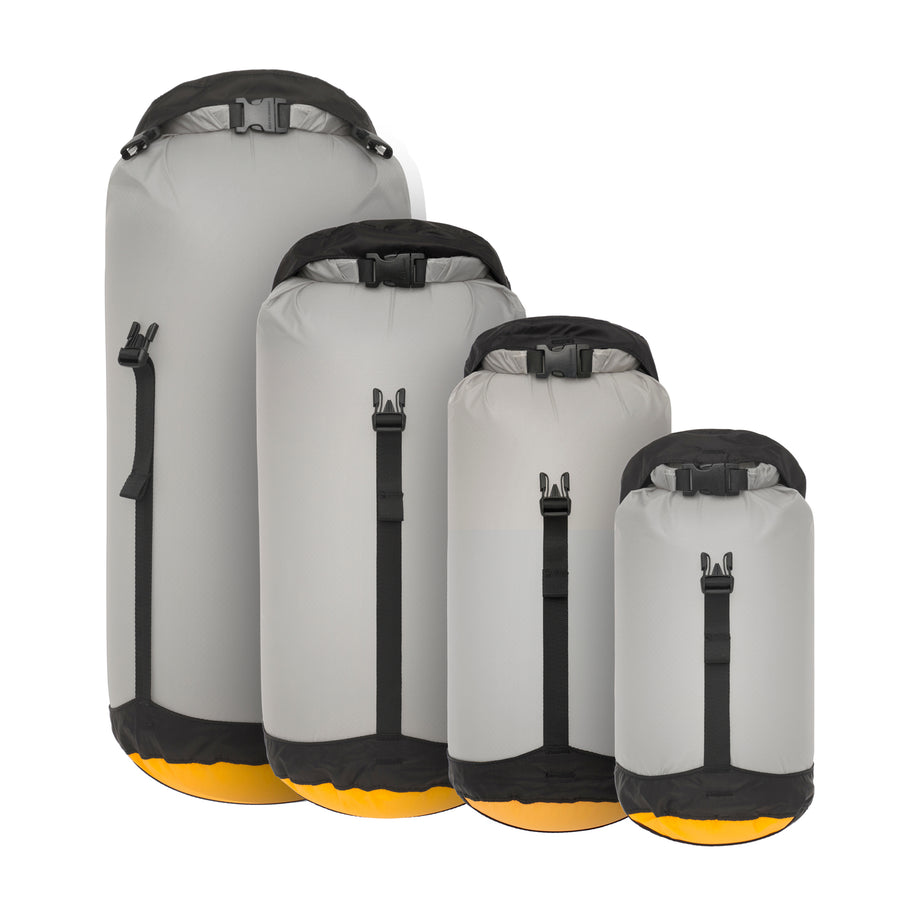
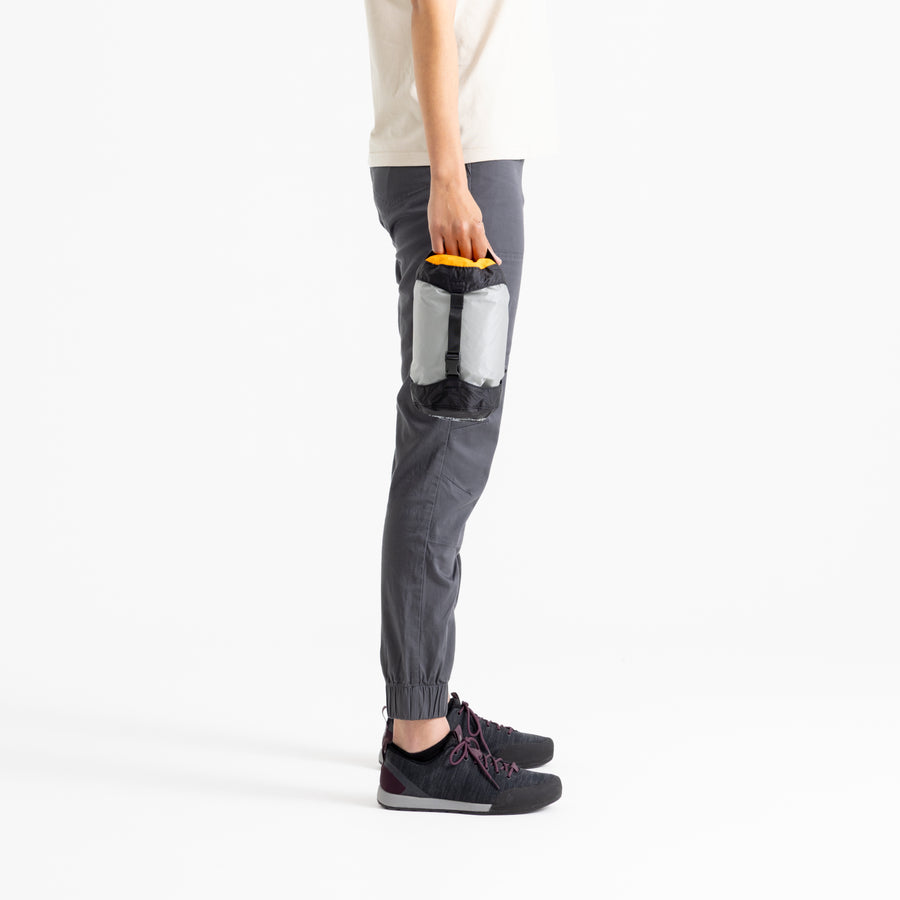
Thirdly, make sure that everyone in the group has adequate dry clothing stowed in dry sacks in their hatches. Failure to pack and secure gear will mean that it will likely disappear if the kayak goes over. Big River Dry Bags and Lightweight Dry Sacks in various colors are ideal for inside the hatches or cockpit. Only experienced paddlers should contemplate external on-deck storage; for this you would use Hydraulic Dry Bags.
Depending on the water temperature and the potential weather conditions you will face, you may use a wetsuit or drysuit. Paddlers have a saying - "dress for the swim". You will definitely need a PFD – one which allows good freedom of movement so you can execute a full range of paddle strokes. Our colleague Emilie (the resident paddler in the office) has had many unplanned exits from kayaks and recommends the side-entry MTI Cascade for its flexibility and unrestricted shoulder movement.
So – what do you do if you capsize?
- Make sure your paddle doesn’t get away from you. You may care to use a Paddle Keeper or Paddle Leash to secure your paddle to your kayak.
- Hold on to the side of your kayak until your paddle partner can bring their kayak right up next to yours; at this point the two paddles should be laid across both boats with the rescuer holding both the paddles and the decking of the other boat (unless the rescuer is able to drain the capsized boat first – see the paragraph about bilge pumps below).
- In a rescue from the left side of the capsized kayak, the person being rescued should begin by hooking the heel of their left foot under the rim of the cockpit, then grabbing the decking of the rescue boat with their left hand. The next move is to pull upwards with the torso facing onto the back deck of the kayak, then rotate the body (with the left shoulder leading) and slide into the cockpit.

As mentioned before, in cold water with waves causing the boats to move, this is not as simple as it might have been during practice.
For this reason, you may care to use a paddle float to turn your paddle into an outrigger. Paddle floats are principally made for solo rescues, but beginner paddlers may benefit from having the additional stability to assist climbing back into the kayak – particularly if they are exhausted from the cold.
Sea to Summit has two types: the Inflatable Paddle Float and the Foam Paddle Float. Both have whistles integrated into the buckles, which you secure around the paddle shaft; useful for attracting the attention of your fellow paddlers. A foam paddle float is of course easier to use (no inflation necessary), and therefore more appropriate for cold water use, where you may well be short of breath. The downside is that it takes up room on the rear deck of the kayak. The Inflatable Paddle Float is much smaller when packed into its stuff sack and deploys just by pulling on a red tab. Once the paddle blade has been slid into the mesh ‘garage’, the paddle can now be extended outboard of the boat where it helps to stabilize the kayak like an outrigger. Thereafter, the paddler can execute the rolling-into-the-cockpit move described above.

Experienced paddlers will know how to lift one end of a kayak from their position in the rescue boat and rotate the hull to drain the water out before the other paddler attempts to climb back in. Less experienced paddlers might opt to get into the cockpit, then (mostly) empty the boat using a bilge pump. Sea to Summit’s Bilge Pump is easy to locate with its bright orange float collar, it won’t become detached from the boat because you can secure it using the ‘D’-shaped handle, and its oversized, anodized shaft won’t bend when you push and pull hard on it (which you may be inclined to do given the adrenaline which will be flowing). It will pump 14ozs / 400ml with each stroke.
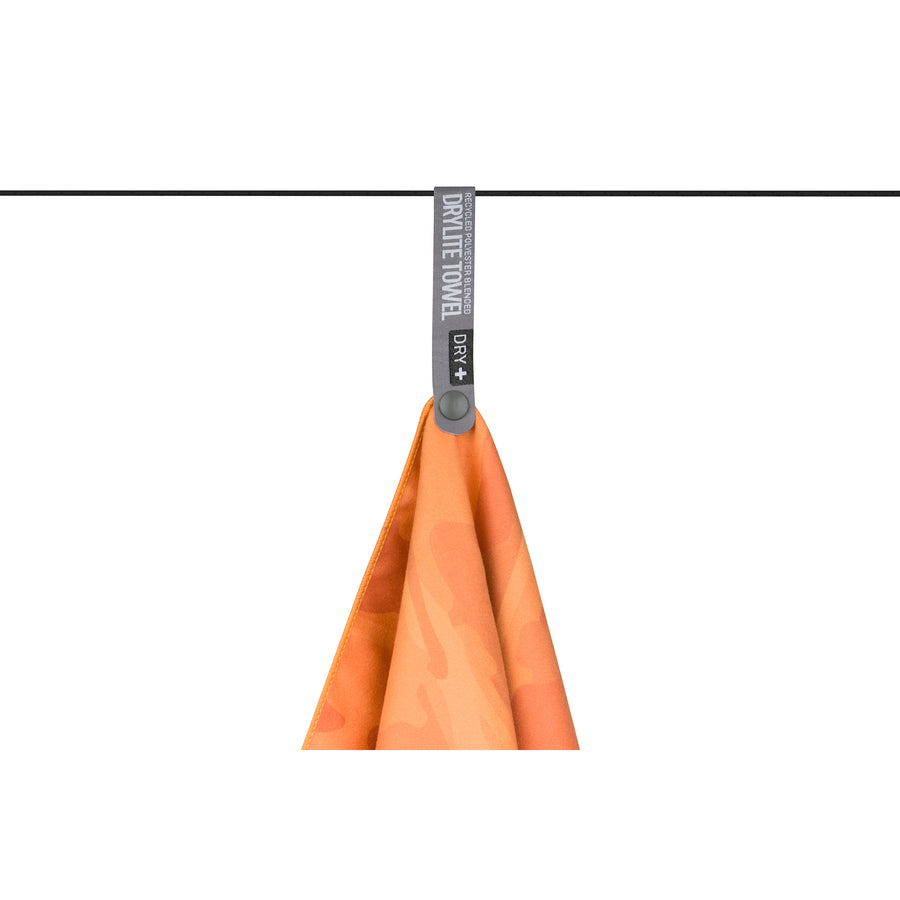
After a rescue, you will probably want to paddle quickly to shore and recover – if you’re not wearing a drysuit/wetsuit, this will involve pulling on dry clothes stored in your dry sacks. This is also a good time to make sure you know where your Tek Towel is and mop up any residual water in your cockpit.
Then – it’s back into the boat and off to one of those unspoiled beaches.
