How to Correctly Mount Your Bikepacking Tent
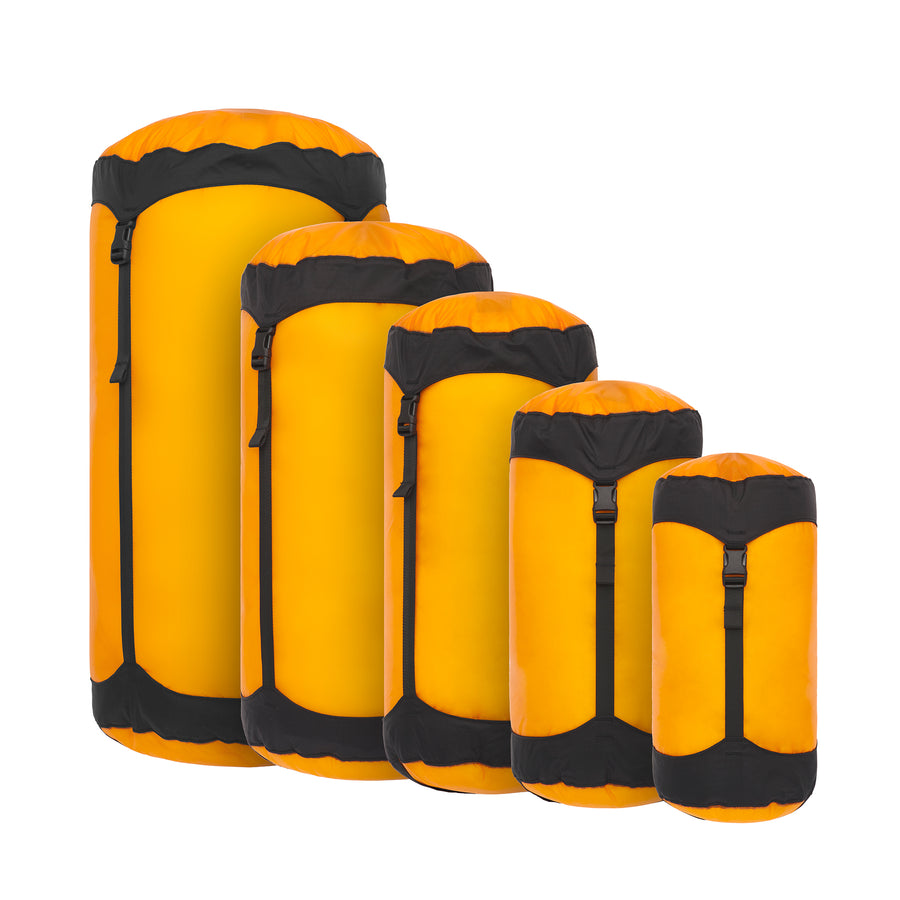
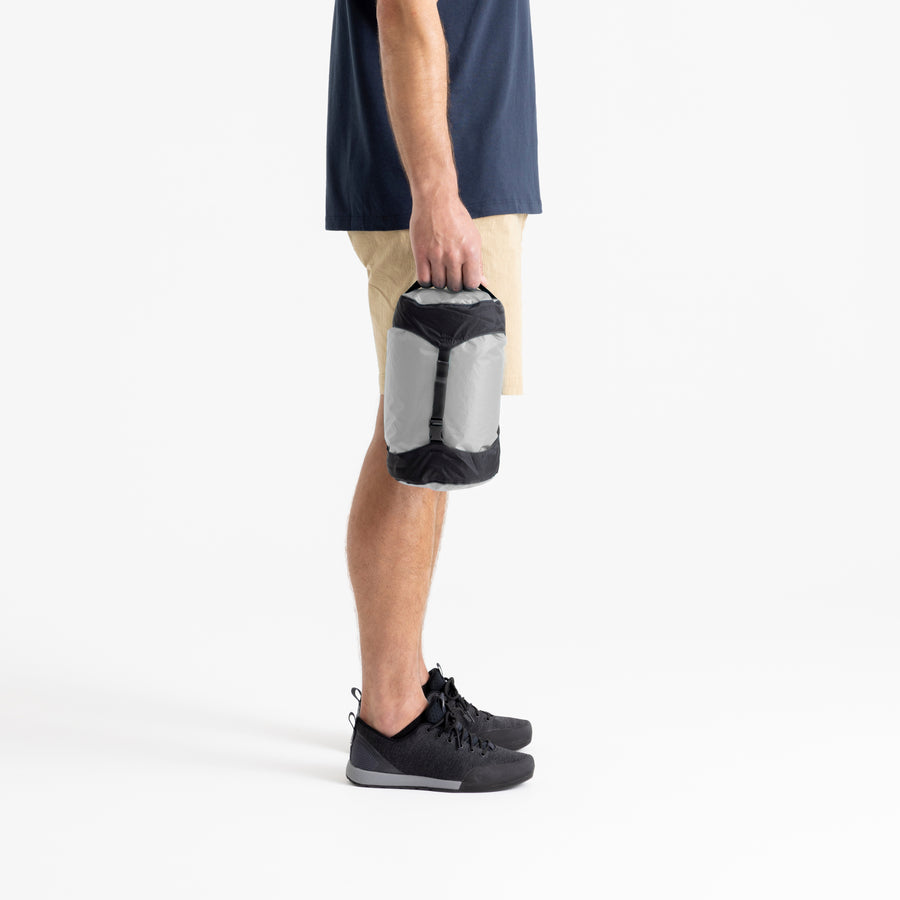
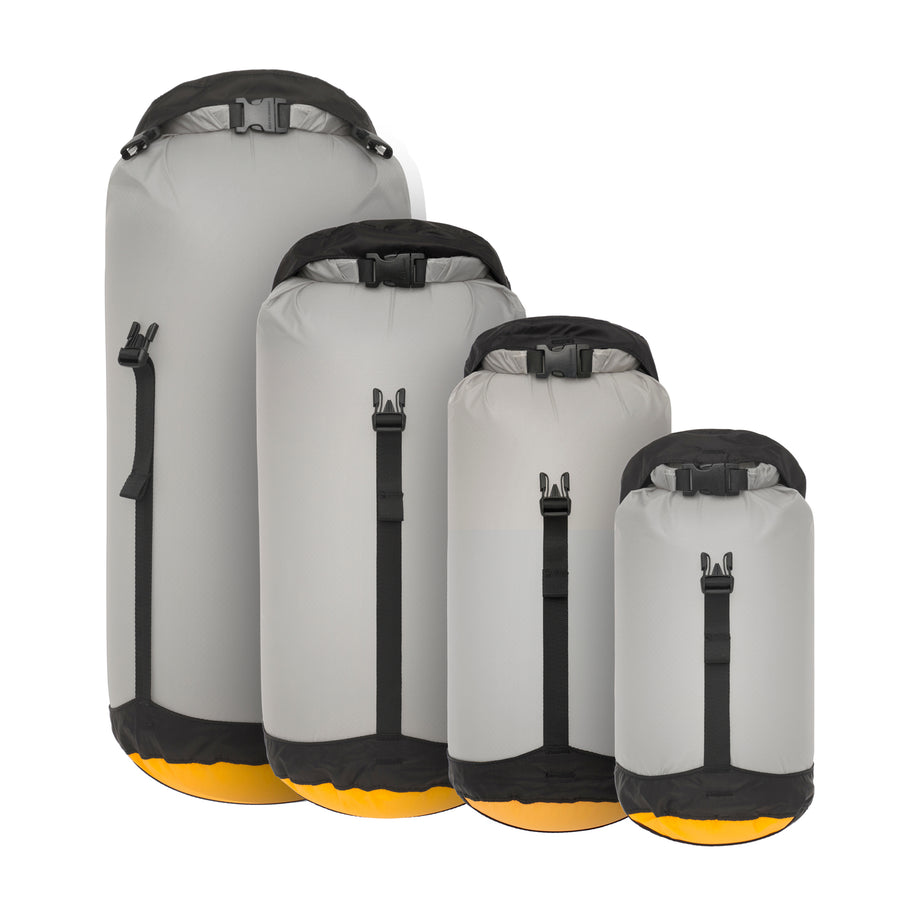
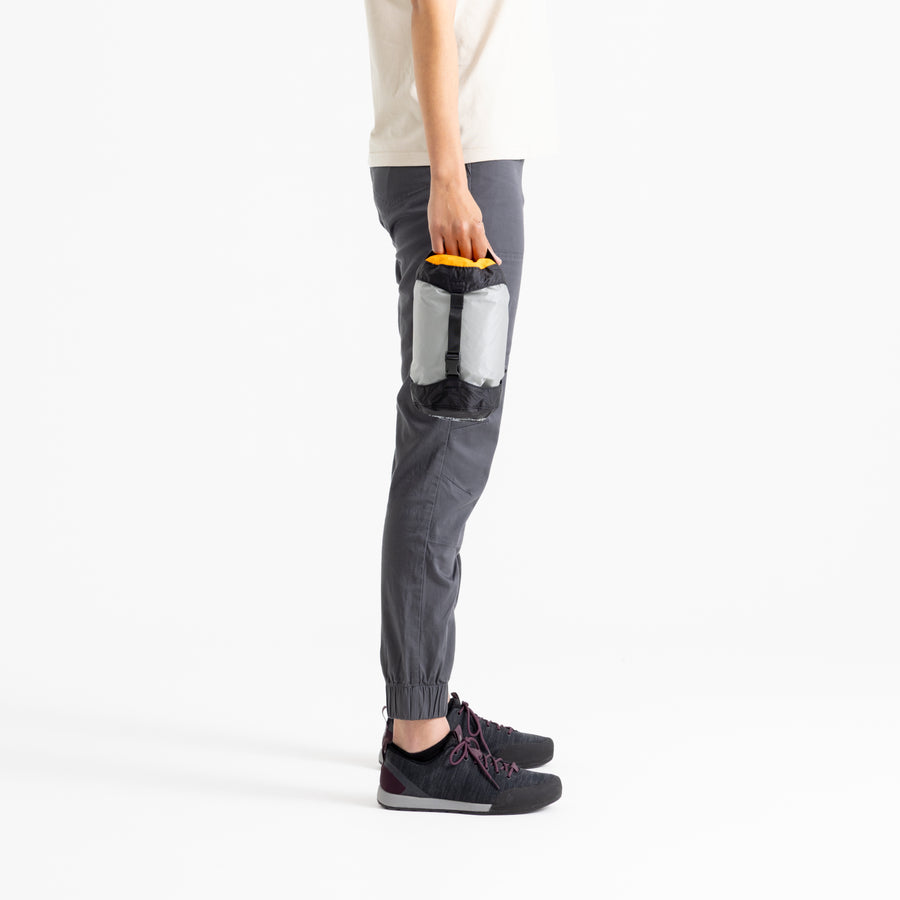
The Telos Bikepack Drybag can be conveniently attached to multiple locations on a bicycle with the appropriate mounting hardware.
Connecting any piece of equipment to a bicycle must be done correctly and with appropriate caution. The item of equipment may become detached and all or part of it might become entangled in any of the moving parts of the bicycle (wheels, drivetrain). This could result in damage to property or injury to the rider or other persons.
If you have any questions about our product, please contact info@seatosummit.com.
If you have any questions about mounting equipment on your bicycle, you should consult a local bicycle shop.
Mounting Locations
When packed in its supplied bike bags, the Telos Bikepack tent can be safely mounted on the following places on a bicycle, with the appropriate caution:
Rear Rack
Ensure the bolts attaching the rack to the frame/brake bridge/dropouts are secured correctly.
Place the tent drybag with the Hypalon reinforced wear patch side against the rack.
Thread the Stretch-Loc straps under the rails of the rack and through the sewn-in webbing loops on the Dry Bag.
Thread the end of the strap through the buckle with the center prong facing upward and tighten. Secure the strap by feeding the prong of the buckle into the nearest hole in the strap.
Adjust the buckle location to allow the tail of the strap to be secured under a webbing loop once tightened and secured.
Note: To make subsequent removal and attachment easier, it is possible to use the Strap Keepers to secure the Stretch-Locs straps to the rails of the rack.
Ensure that neither the rack nor the tent bag/other gear mounted on it will become entangled in the drivetrain or rear wheel.
Do not exceed the recommended maximum load for the rack.

Front Rack
Ensure the bolts attaching the rack to the stanchions/brake bridge/dropouts are secured correctly.
Place the tent drybag with the Hypalon reinforced wear patch side against the rack.
Thread the Stretch-Loc straps under the rails of the rack and through the sewn-in webbing loops on the dry bag.
Thread the end of the strap through the buckle with the center prong facing upward and tighten. Secure the strap by feeding the prong of the buckle into the nearest hole in the strap.
Adjust the buckle location to allow the tail of the strap to be secured under a webbing loop once tightened and secured.
Ensure that the wheel can turn freely and neither the rack nor the tent bag/other gear mounted on it will become entangled in the wheel.
Do not exceed the recommended maximum load for the rack.

Front Fork
A cargo cage must be used when attaching the Telos Tent to the frame of your bicycle.
Place the tent drybag with the Hypalon reinforced wear patch side against the cargo cage.
Thread the Stretch-Loc straps under the rails of the cargo cage and through the sewn-in webbing loops on the dry bag.
Thread the end of the strap through the buckle with the center prong facing upward and tighten. Secure the strap by feeding the prong of the buckle into the nearest hole in the strap.
Adjust the buckle location to allow the tail of the strap to be secured under a webbing loop once tightened and secured.
Note: To make subsequent removal and attachment easier, it is possible to use the Strap Keepers to secure the Stretch-Locs straps to the rails of the cargo cage.
Ensure that the front wheel can rotate freely, and that neither the cargo cage nor gear mounted on it will become entangled in the wheel.
Do not exceed the recommended maximum load for the cargo cage.

Follow Similar instructions for the following:
Side of Rack

Inside Frame

Underside of Down Tube

Behind the Saddle

Handlebars

Before Every Ride
Stretch-Loc Straps
Ensure that the straps are not worn or damaged.
Ensure that the straps are placed under sufficient tension and that the buckles are secured correctly with the tail of the strap secured to prevent the bike bag from moving/falling from the bicycle. This is especially important when riding off-road.
Bike Bags
Ensure that the bike bags are closed correctly and that the buckles will not disengage while you are riding (especially when riding off-road).
Ensure that the fabric and straps of the bike bags have not been damaged in a way that could lead to failure.
General
Be aware that a bike loaded for touring/bikepacking will be heavier and possibly less stable. This may affect handling or stopping distances, particularly in the wet.
