Insider Tips for Your First Backpacking Trip
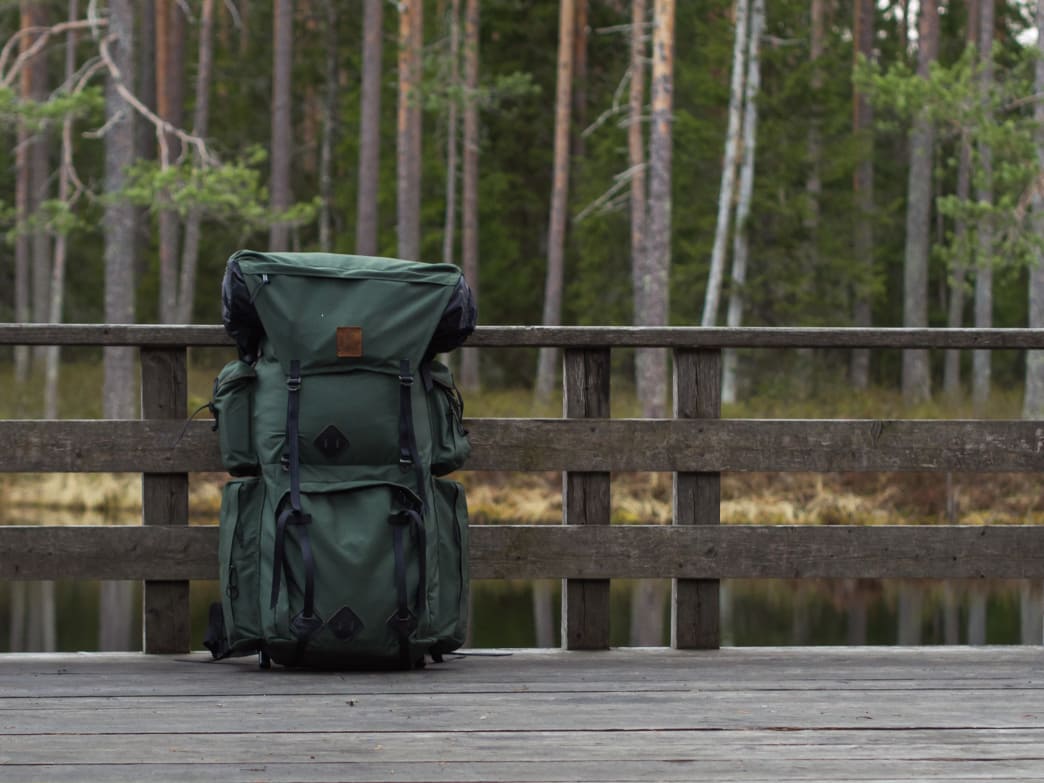
From the rocky outcrops of the Talladega National Forest to the waterfalls of the Sipsey Wilderness, Alabama is home to many excellent backpacking trails that practically beg for an overnight adventure.
If you’ve only done day hikes, however, a longer overnight trek through the backcountry can seem slightly intimidating. But with a little research and planning, your first backpacking trip can be an amazing experience that paves the way for future adventures.
The rewards are well worth the planning and effort. Deep in the woods, you’ll discover the kind of scenery, solitude, and natural wonders that many people never experience. At night, beneath the stars, far away from civilization and crowds, you’ll savor a sense of calm that’s hard to find in today’s fast-paced, tech-saturated world.
To help you launch your first outing, we’ve compiled 10 insider tips to help you plan your route, choose the right gear, and travel comfortably and safely in the backcountry. Follow these guidelines, and your first backpacking trip will likely be the first of many.
1. Go with an experienced backpacker.

If you have friends who are experienced backpackers, it’s a great opportunity to tap into their knowledge for your first trip. It’s a win-win for everyone: Your friend will likely be flattered, and you can soak up tons of outdoors intel. A trail veteran can share insider tips like what to pack and how to pitch a tent, while helping you avoid rookie mistakes along the way. (Some of us learned the hard way that you can melt your hiking boots by drying them too close to the campfire.)
Most of all, an experienced buddy provides a safety net as you learn the ropes. For example, if you’re not sure about your ability to navigate in the wilderness, you can lean on you partner’s experience and treat your first trip as a learning opportunity.
2. Try an overnighter first.

Long backpacking trips involve more logistics, more food, heavier packs, and more time away from creature comforts. For all of these reasons, your first backpacking trip will be a more enjoyable experience if you camp just one night (max two). A shorter trip lets you break in gear—for example, if you discover that your boots cause blisters or your pack doesn’t fit correctly—with an easy exit if you need it. Choosing a destination at a state park like Oak Mountain allows you to enjoy rugged surroundings with easy access to facilities and civilization should things go sideways.
3. Travel a modest distance.

Beginner backpackers commonly overestimate how many miles they can cover comfortably in a day. Most of us don’t carry 30 or 40 pounds on our backs regularly, and we’re certainly not used to hauling that weight up and down hills. To avoid exhaustion and sore muscles, try an overnighter where you travel a total of 8 to 10 miles or less. This will allow you to hike at a comfortable pace and reach camp before sunset. Keep in mind that you will probably spend more time than expected packing for your trip and hitting the road, so you might get to the trailhead later than expected. To account for this likely scenario, you shouldn’t plan to do a ton of miles your first day on the trail.
4. Choose a convenient hiking route.

For your first trip, it’s easier to do a loop hike or an out-and-back trip where you begin and end at the same trailhead. If you plan a point-to-point trip, you’ll need to place cars at each end of the route, so hit the road early and allow extra time for this task.
5. Do your gear homework.

Bone up on gear basics as you plan your trip (a few recommended online reads: A Beginner's Guide to Camping Gear and How to Choose the Right Backpack). As you do your research, create a packing list and note the items you need to purchase. Before you buy anything, get an idea of the options available and what will suit your journey. Do you need a super-warm sleeping bag rated for freezing temperatures, or a 50-degree bag for milder weather? If you need advice on gear, outdoor speciality stores often employ knowledgeable salespeople—just be aware that sometimes they work on commission.
6. Rent gear to save money.
High-quality backpacking gear can be expensive, and you might not have the budget to buy everything you need for an initial trip. If you travel with an experienced backpacker, you might be able to borrow gear. Also, outdoor specialty stores and online services allow you to rent tents, backpacks, sleeping bags, stoves, and other necessities. As you gain backpacking experience, you’ll have a better idea of the specific products you’ll want to purchase. (And if you ultimately decide that you’d rather stick to day trips, you won’t have shelled out too much money.)
7. Invest in good footwear.
Nothing will ruin a trip faster than shoes or boots that fit poorly or fall apart, so invest in high-quality footwear. If you plan to trek in the rain or cross lots of streams in cool or cold conditions, consider buying waterproof boots. But if you plan to hike when it’s warm and humid (pretty much a given Alabama for most of the year), keep in mind that waterproof footwear traps warm air and moisture around your feet that can cause blisters. If you carry a load of 30 pounds or less, you can usually wear a low-cut shoes for hiking and traveling. Packing more than 30 pounds usually requires a full boot that will offer the rigidity and midsole structure needed to bear a heavy load. Whether you get shoes or boots, wear them several days beforehand to check the fit and break them in before you hit the trail.
8. Learn how to layer wisely.
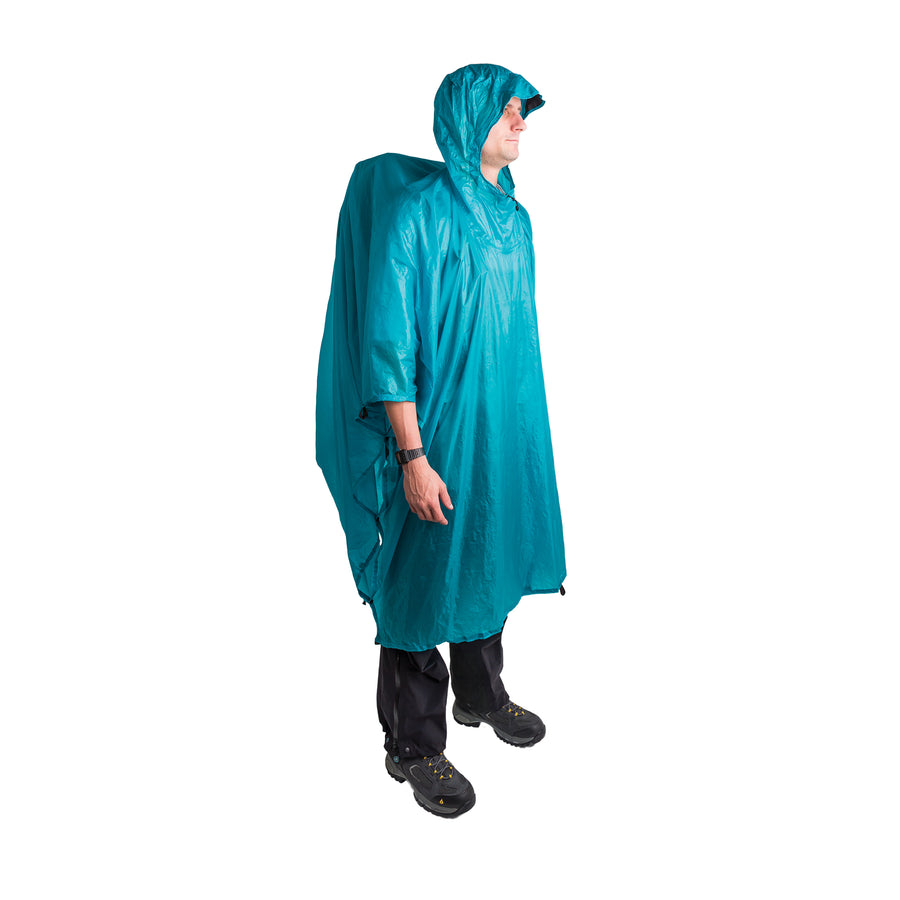
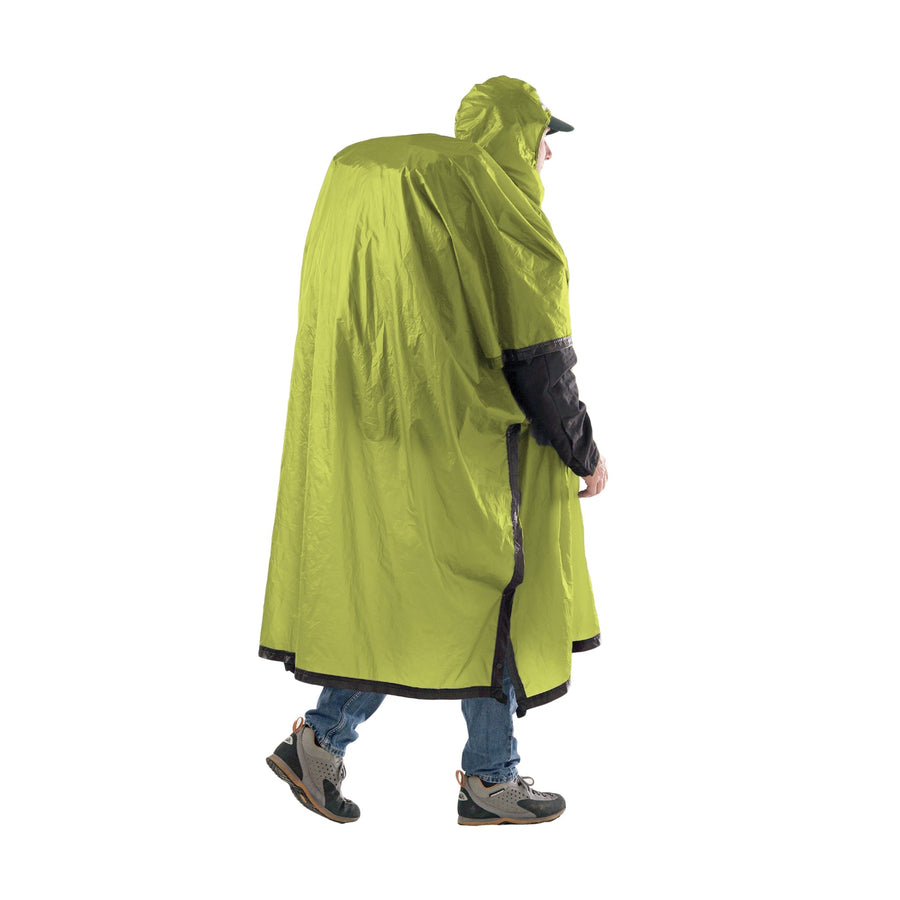
The key to staying comfortable on the trail is to regulate your body temperature so that you’re not too cold or too hot for long periods. In warm weather, you can backpack in shorts and a short-sleeve shirt made of synthetic material. For early spring, fall, and winter seasons, the trick is to dress in layers, beginning with thin top and bottom base layer pieces that include synthetic fabrics or wool. Then, add light or mid-weight tops and bottoms over the base layers, and pack an insulated jacket for colder conditions. The final layer includes your waterproof jacket and pants. Because we lose much of our heat from our head and hands, you should also pack gloves and a hat made of synthetic material or wool.
9. Keep the campfire menu simple.
It’s possible that you’ll arrive at camp tired and in no mood to fuss over a complicated meal. So, consider packing foods that are easy to prepare, such as pre-packaged, freeze-dried meals that only requires you to add boiling water. Or, you can visit your local supermarket to buy soup packets as well as foil packets of tuna, salmon or chicken. Just try to avoid canned soups or other foods that include lots of liquid, because these items are heavy. Also, you’re going to burn plenty of calories while backpacking, so bring plenty of snacks to munch on as you walk.
10. Be ready when nature calls.
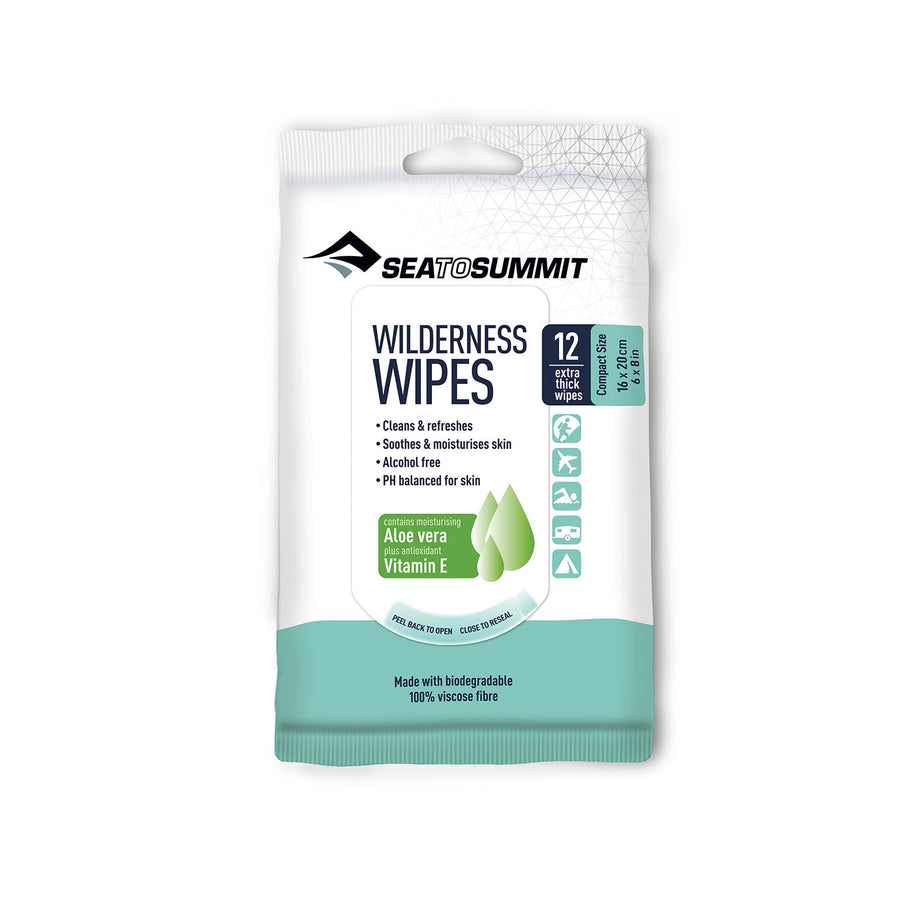
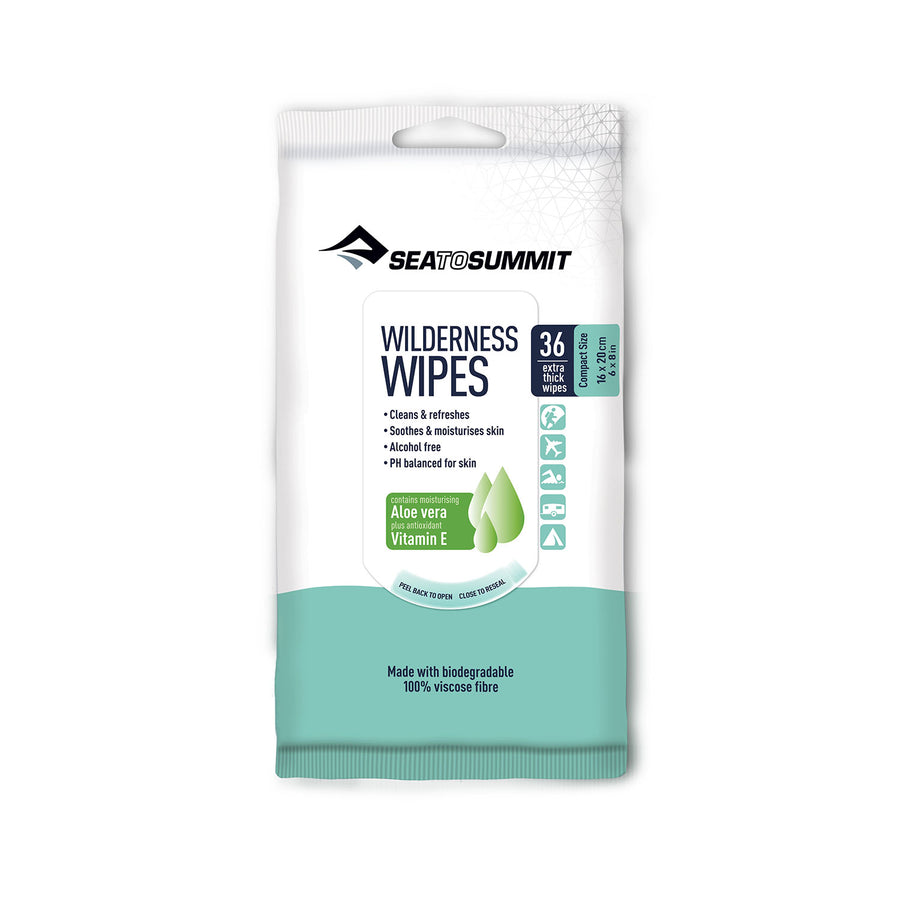
If you’ve never gone to the restroom in the woods (and we don’t mean using an outhouse), it can be an intimidating experience. But the procedure is pretty simple, and you can find details by visiting the Leave No Trace website. Just remember that it’s important to bury your waste, pack out your used toilet paper, and clean your hands with wipes or sanitizer. You’ll need a toilet kit, too: Include a trowel for digging a cat hole, toilet paper (plus baby wipes if you’d like), hand sanitizer, a large Ziploc-style freezer bag to hold toilet paper and other toilet supplies, and a smaller bag to hold used toilet paper. It’s not the most pleasant aspect of an overnight adventure in the backcountry, but—as with everything else with your first backpacking trip—soon enough it will be second nature.
Written by Marcus Woolf for RootsRated in partnership with BCBS of AL and legally licensed through the Matcha publisher network. Please direct all licensing questions to legal@getmatcha.com.
